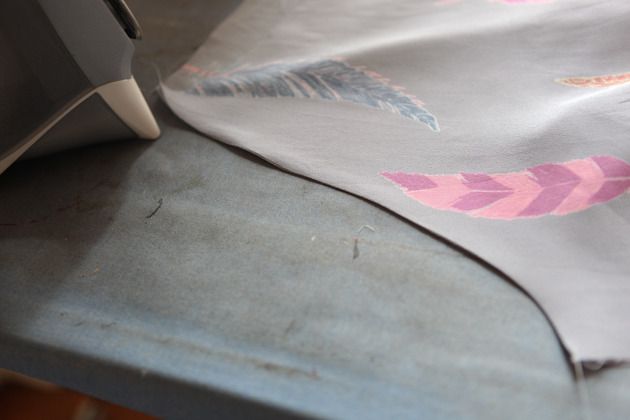
Step 5 - Now it's time to attach the front to the sleeves. If you are serging or pinking then match the armhole portion of the front to one sleeve with right sides touching, matching notches. Pin. Stitch at 1/2" seam allowance. Finish the seam allowance and press the seam allowance open or away from the sleeves and towards the bodice. Repeat for the other sleeve and skip the next 5 pictures, picking back up at the beginning of step 6.
If you are doing a french seam then the method will be a little different. Match the armhole portion of the front to one sleeve with wrong sides touching. Pin. Stitch it at 1/4" seam allowance.

After stitching at 1/4" seam allowance, trim the seam allowance down to 1/8".
 Press the seam flat with the trimmed seam allowance going to one side.
 Now press the seam flat with right sides touching.
 Stitch at 1/4" seam allowance, encasing the trimmed seam allowance so it's no longer visible.
 Repeat for the other sleeve. Press seam allowances towards the bodice and away from the sleeve.
Step 6 - Attach the back to the sleeves in the same manner as the front. Finish the seam allowances on both the front and back of the armholes in your desired manner. Seam allowances should either be pressed open or away from the sleeves depending on your finishing method. This is what the neckline should look like when you are at the step. At this point is resembles a poncho of sorts.

Step 7 - Now we are going to sew up the sleeves and sideseams in one step. Starting at the sleeve opening and ending at the bottom of the blouse / dress, pin the sideseams together, matching notches and seams. Stitch and finish the seam allowances in your desired method as you did in the step above. Press the seam allowances open or towards the back of your garment depending on your finishing method.
 This is what the top of your blouse or dress should look like at this point. Tomorrow we will finish up the neckline so it really starts looking put together.


