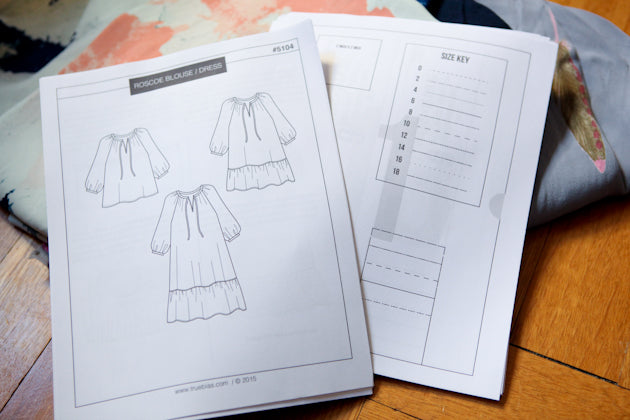
I am so excited for the first day of our Roscoe Blouse and Dress sewalong. Hopefully by now you have printed and assembled your pattern. If you need any help with the printing and taping process check out my post here from a prior sewalong. The same link will also walk you through lengthening and shortening your pattern. The Roscoe, like all of my patterns are drafted for someone who is 5'5". You will want to adjust your pattern if you are taller or shorter than this. I am 5'3" so I shorten the sleeves and blouse of Views A or B by 1" (since I figure that only half of my body would only be half of the difference). If I am sewing view C, the long dress, then I shorten the sleeves by 1" and the dress by 2". Before you start, make sure that you mark all notches as well as the cutting line on the neckline facing. Now we are ready to start. The steps will be numbered and will correspond to the numbers in the pattern instructions.
Step 1 - Align the right side of your neckline facing with the right side of your front piece, matching center front notches. You really want to make sure that the neckline facing is on straight so that you don't end up with a crooked neck slit. If you don't have a visible grain or print to follow you can always fold your center front piece in half and lightly press the fold so that you can line up the facing properly. Pin in multiple places like you see below.
 Step 2 - Reduce your stitch length to 1.5mm (or about 17 stitches per inch).

Starting at 1/4” seam allowance, stitch down one side of the cutting line marked on the facing piece, reducing the seam allowance as you go, until you are at 1/16” at the bottom. Pivot and stitch just below the bottom of the line for 2 stitches. Pivot and stitch back up the other side in the same manner as the first. It's hard to see, but if you look closely you should be able to see my stitching.
 Cut down along the cutting line marking until you are close to, but not through the bottom stitches. Snip carefully into the corners (if necessary). Return your stitch length back to normal before you forget.
 Step 3 - Pull the facing through the opening you just created so that it’s on the wrong side of your front piece.

Press. Make sure that the seam is cheated slightly to the inside of your garment so that you don't see it on the right side of your garment. You also want to make sure that you don't have any puckering at the bottom of the slit. You want everything lying flat.

Trim down both sides and the bottom of the facing so that it is 5/8” on each side.
 Step 4 - Turn under the side edges first, until they reach the stitching. Turn under the bottom in the same way. Press and pin in place.

Starting at the top, edgestitch around the outside folded edge of the facing. When you reach the corners, leave your needle in the fabric, pivot, and stitch in the other direction. Press. This is what it should look like on the right side of your fabric once you are done.
 And this is what the wrong side.

That's it for today. Not too bad right? Tomorrow we will start sewing pieces together.

