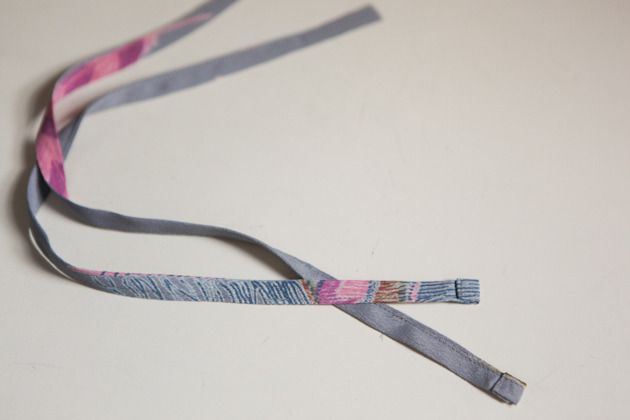
Step 8 - First, let's make the neckties. Take your necktie pieces and fold them in half lengthwise, wrong sides together. Press.

Open them back up and take the two long raw edges and fold them back into the crease you just made. Press.

Fold along the middle crease again.

Edgestitch along the long open edge.

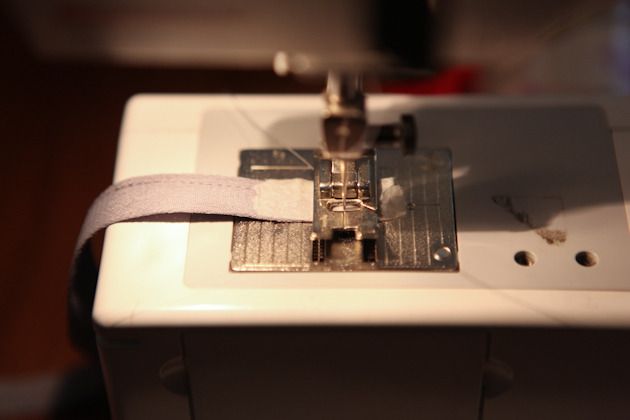
Step 9 - Finish one end of each necktie by folding it 1/4”, pressing, folding it another 1/4”, pressing, and stitching to secure. I know that this can be a bit fiddly and hard to sew on your machine. I find that if I put a piece of masking tape down once it's folded and sew through that, that it's a lot easier.

Once you are finished, give them and good press and set your neckties aside.

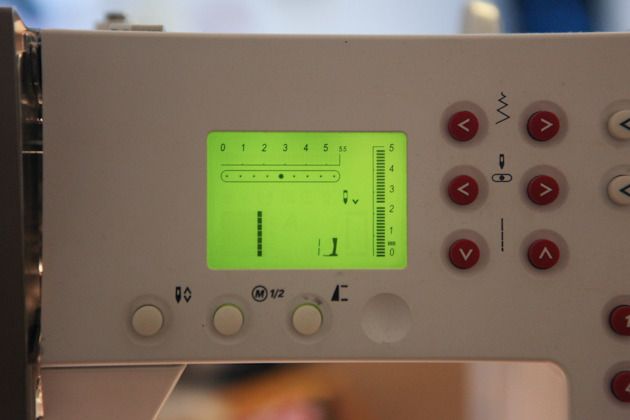
Step 10 - Change the stitch length on your sewing machine to the longest stitch for basting stitches.

Starting and ending 1/4” from the edge of the neckline facing stitching at center front, baste around the entire neckline at a scant 1/2”. (Do not backstitch at either end.) Sew another line of basting stitches parallel to the first at 3/8” seam allowance.
 This is what it should look like when you are done.

Step 11 - Prepare your neckline binding by folding the long, unnotched edge at 1/2”, with wrong sides together. Press.

Step 12 - Gather the neckline along the basting stitches. Pin the neckline, right sides together, to the neckline binding along the unfolded edge, with 1/2” extending at each center front. Match the notches on the binding to each of the seams on the neckline of the blouse.

I find it a lot easier to control the gathering while I stitch if I give it a press first.

Stitch at 1/2” seam allowance. Trim the gathered blouse seam allowance to 1/4“ and the binding seam allowance to 3/8” to reduce bulk within the neckline.

Step 13 - Press the neckline binding up and away from the blouse around the entire neckline.

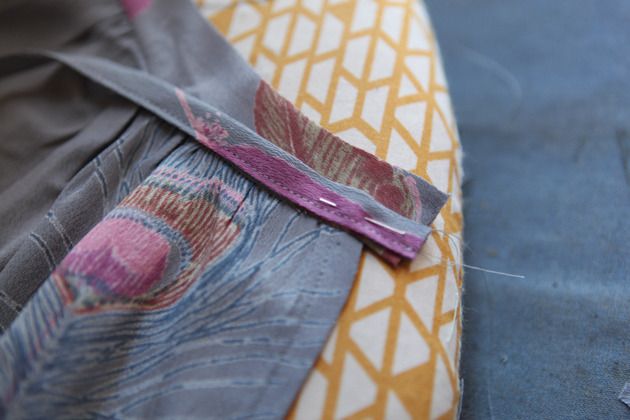
On the right center front of the neckline, pin the unfinished end of one necktie piece flush with the neckline binding edge.

Step 14 - Now take the folded edge of the neckline binding and fold it down, right sides together, so that the folded edge overlaps the seam where the binding meets the blouse by about 1/16” (this is important so that you still have some extra binding on the inside of the blouse to stitch down). The necktie will be sandwiched in-between. Pin.

Step 15 - Stitch down at a scant 1/2” seam allowance at center front so that your stitches are just past the edge of your center front slit. This somewhere that you want to be very precise so that you have a nice, clean angle at center front.

 Trim the seam allowance to reduce bulk.

Step 16 - Turn the corner right side out so that the necktie is now on the outside of the blouse at center front. Adjust the corner so it has a nice point and press. Repeat for the other side of the neckline.

Step 17 - Take the folded edge of the neckline binding and pull it to the inside of the neckline until it covers the seam by about 1/16”. Pin generously. Press on a curved surface such as a tailor’s ham to support the curve of the neckline and prevent wrinkles. The goal is that on the right side of your blouse, that the neckline binding is the same width as the necktie. On the inside it should be that same width, plus about 1/16 - 1/8". If it is off in places then you will want to adjust as necessary at this point.

Step 18 - On the right side of your blouse, stitch in the ditch where the blouse meets the neckline binding, catching the underside of the neck binding underneath. Go slowly and be as accurate as possible. If you stitch right in the "ditch" then the stitching should be almost invisible. You can also choose to hand sew this on the inside instead for a more high end finish.
 Backstitch securely on both ends and press on a curved surface.
 Well done. We are finished for today. See you tomorrow.

