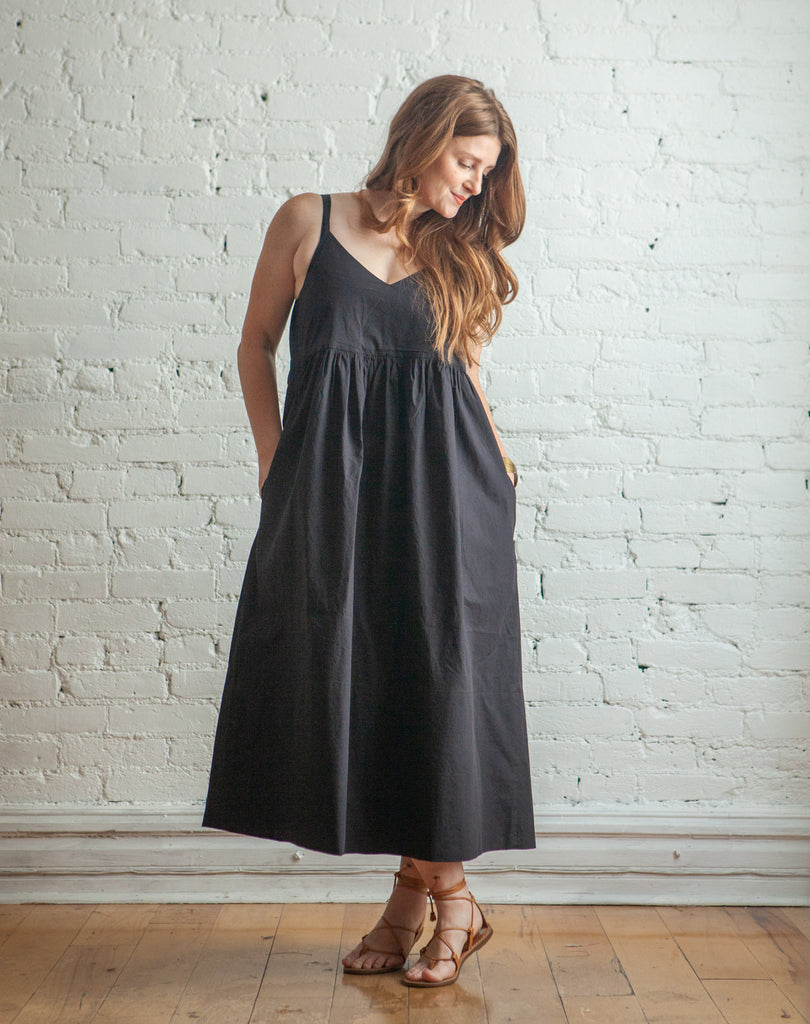
 IIt's the last hack of Ogden month and I have a great one to finish the month off. This hack has a lot of elements from other hacks, but some subtle differences that I am loving. I am calling it the Ogden Empire Waist Maxi Hack. I've been loving the empire waist trend lately and really wanted to lean into it. And then I balanced it out with a gathered full length skirt and a super wide hem to hold the shape. I also added pockets because why not.

First of all I wanted to share the fabric I used. It's a black washed cotton poplin from Blackbird Fabrics. Poplin is definitely more crisp and structured than what I generally use for this pattern and it really transformed the look. It holds it's shape more, especially in the gathers, and Im really loving the modern look.
OK, let's get sewing.
Cutting the Bodice

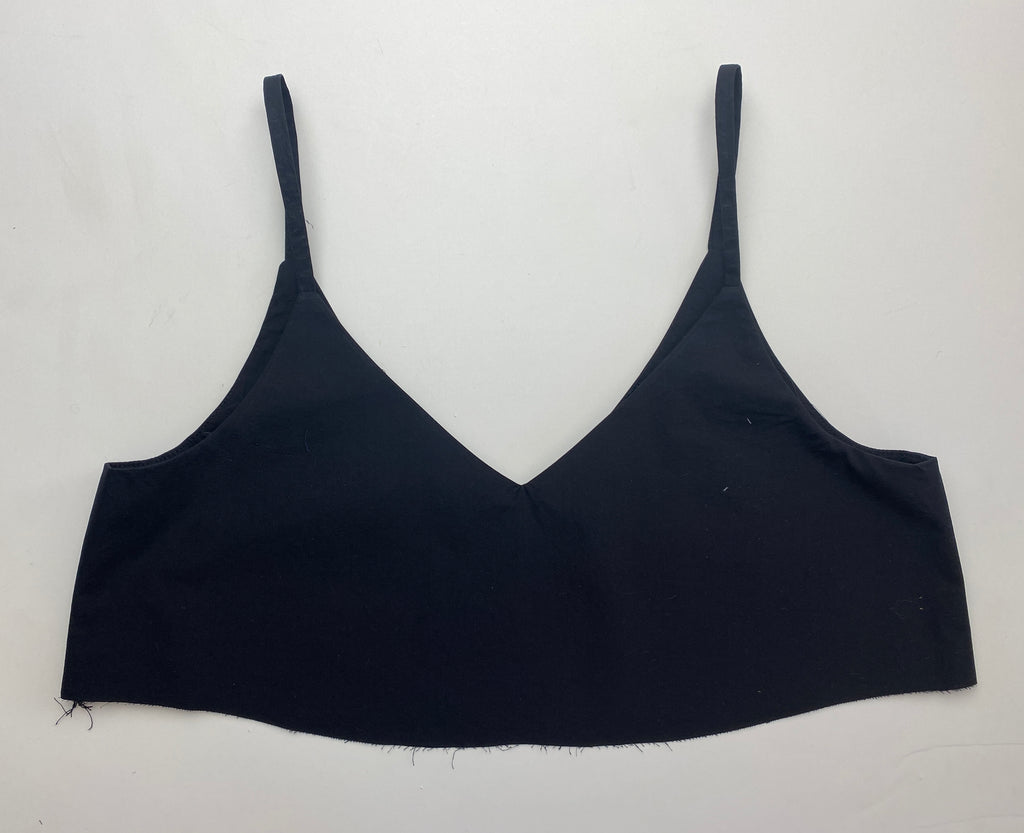
You are going to need 3 Ogden pattern pieces for this project. You will use the lining pieces instead of the main pattern pieces since they are closer to the length we are wanting. Because we will fully line the bodice section of the dress, you will use the lining pieces for both the main and lining pieces. I added 1/2" to the bottom of of the front and back to give it a bit of wiggle room, but you could probably just cut it the lining lengths if you want that true empire waist look. You also will want to cut out your straps.
Pattern Piece 3 - Cut 2 on fold (one for main and one for lining)
Pattern Piece 4 - Cut 2 on fold (one for main and one for lining)
Pattern Piece 5 - Cut 2
We will cut out the skirt and pockets after constructing the bodice.
Sewing the Bodice
You are going to be sewing up the bodice according to the Ogden instuctions. The only difference is don't finish the hem of the lining. If you need additional help sewing up the Ogden you can follow along with our Ogden sewalong here or here.
 Before moving on to the skirt portion of the dress, we need to balance the hem of the bodice. To do this, try on your bodice and stand to the side. Make sure the the hem of your bodice is parallel to the ground like the image below. If not, trim it slightly so that it is. This will allow us to add rectangles for the skirt portion of the dress and keep it balanced.

Skirt Calculations
Now that the bodice is complete we need to cut out the rectangles that are going to be our skirt. This takes some math. I will show you what I did and you can adjust them for your own measurements.

First you need to measure the hem of your bodice (average out the front and back so you are just dealing with one measurement). Mine was about 20".
I decided to make my skirt gathering 1.8 x what the measurement was above it (the bodice).
So the front / back skirt width is 20 x 1.8 = 36" + seam allowances = 37"
For the height of of the skirt I wanted it to be about 38" long (I ended up taking off about 3 inches after trying it on), plus I knew I wanted a nice wide hem so I added an additional 12". If you don't have the yardage you can definitely do a skinnier hem.
So my final pattern pieces were:
Skirt (cut 2) = 37" x 50"
The last measurement I needed was the distance from the underarm to the top opening of my pocket. The pockets are completely optional but are super nice to have. Because I have sewn another Ogden hack with pockets, I know that I like the top of my pockets to sit about 11" down from the underarm.

Pockets (Optional)
If you want to add pockets like I did, you are going to need to grab some pocket pattern pieces from another dress or skirt to use like the Mave or Southport (I am using the Mave). I am sewing in hanging pocket bags so I cut out 4 of them.
I added the pockets to my skirt using my Mave Sewalong instructions. You can check them out here and it will walk you step by step on how to add hanging pockets. Or use the pocket instructions from whichever pocket pattern piece you are using.


Gathering / Adding the Skirt
Now it's time to add the skirt. Add gathering stitches along the top of the skirt. Since the seam allowance is 1/2" I like to add a basting stitch at 3/8" and 5/8" so they are easy to remove later.

Now let's add the skirt to the bodice. To have a completely lined bodice with no seam allowances, attach the skirt to the main cami only, leaving the lining free.
Gather the basting stitches so that it is the same width as the bodice hem it is connecting to. Pin with right sides touching, stitch at 1/2" seam allowance, and remove basting stitches.


Now to attach the lining. Press the hem of the lining under by about 3/8" and pin along the inside so that is just covers the seam you just made.

On the right side of your dress, stitch in the ditch in the seam between the bodice and skirt, catching the folded edge of the lining underneath as you go. You can also choose to hand stitch this for more control.
 Here is how it looks on the inside.
 Hemming
The last thing we need to do is hem our dress. First I recommend trying it on and seeing what length you like. Trim is necessary. Then fold the edge in by 1/2" and then again at whatever hem depth you want. I did an 11.5" hem because I love the look of a wide hem and how it keeps the shape wide at the hem.
 Stitch along the top folded edge of the hem.

Now just trim stray threads and give it a final press. Wear your hacked Ogden dress proudly.


