I have a super fun and easy hack for you today. I am going to show you how to use the Marlo pattern to create a sweater vest. I am using the long version of the pattern, but this would also look great with View A - the cropped sweater view.
Begin by cutting out all of your pattern pieces except for the sleeve and sleeve band.
Grab one of your front sweater pieces. First we are going to take some of the width off of the shoulder. I decided to take off 1.5" for mine, but you could take off more or less depending on how dropped you want the shoulder to be. From the new shoulder point, make a gradual line down to meet the underarm. Cut along the the line you made. Repeat for other front.

Do the same thing to your back Marlo piece.

Now, measure your new front and back armholes.

We will use my numbers as reference, but know that your numbers may be very different than mine.
Front armhole (FA) = 10in
Back armhole (BA) = 10.25"
FA (10) + BA (10.25) = 20.25" - Shoulder Seam Allowances (.75") = 19.5"
Now that we know the armhole measurement, we are going to calculate it at 80% (to accomodate 20% stretch)
19.5" x .8 = 15.6" = armhole band measurement.
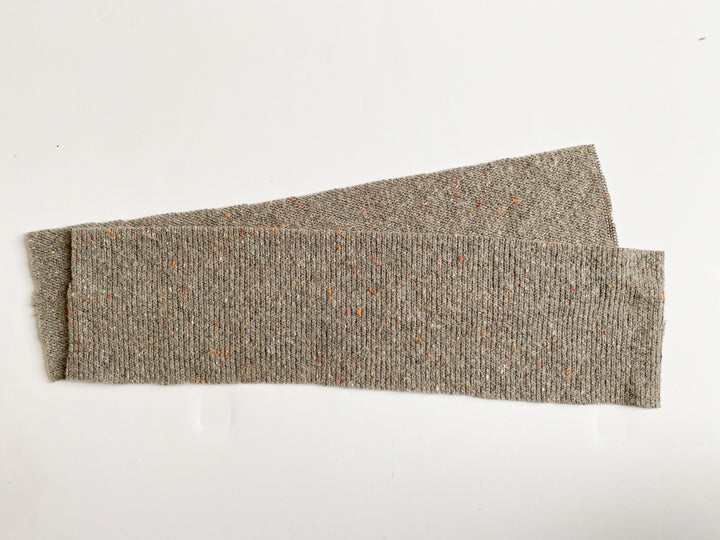
Now cut two pieces of fabric that are the armhole band measurement x 4". The stretch of the fabric should be along the width or 15.6" measurement for mine.

Fold each band in half widthwise and sew into a tube.

With wrong sides touching, fold the tube up lengthwise in the middle like the following photo. Press and steam.

Sew up the shoulder seams and sides seams of your Marlo.

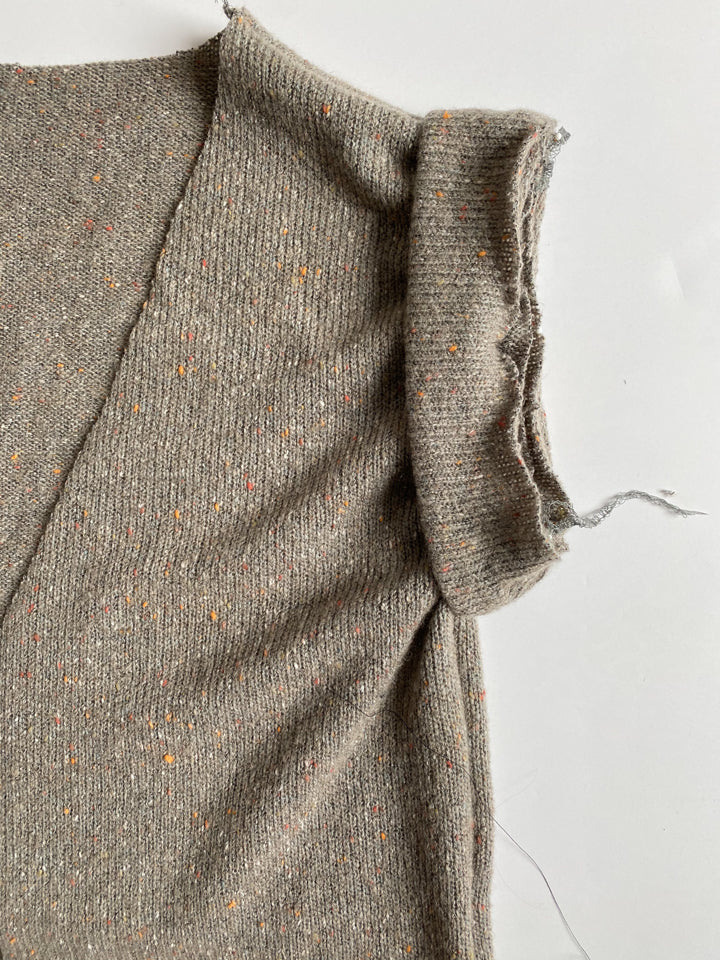
Align the seam of the band with the underarm seam of your Marlo. Stretch to fit the band along the rest of the armhole.

Sew the seam, stretching the band as you go. Press seam allowances towards sweater and the band out and away from the sweater.

Sew up the rest of the Marlo according to the instructions.


I love my Marlo Sweater turned Sweater Vest so much! Such a simple hack, yet a completely different look. I think I will be layering this over my Nikko top a lot this winter.

