Hi, and welcome to day 1 of the Zoey Sewalong. Today we will mostly be preparing to sew. You should already have your fabric and notions prepped and ready to go. If you need more info on that, check out our blog post last week entitled Zoey Fabric and Notions.

PRINTING YOUR PATTERN
Now it's time to print your pattern. You can do this at home or at a copyshop. If you are printing at home, be sure to check out page 3 of your instructions for more information. You can turn on and off layers so you only print the size or sizes you plan to cut out.

Page 3 also points out the specific pages you need to print per view, so be sure to reference that if you don't want to print the entire pattern at this time. Each size range includes different pages needing to be printed so be sure to check out your instructions for this.

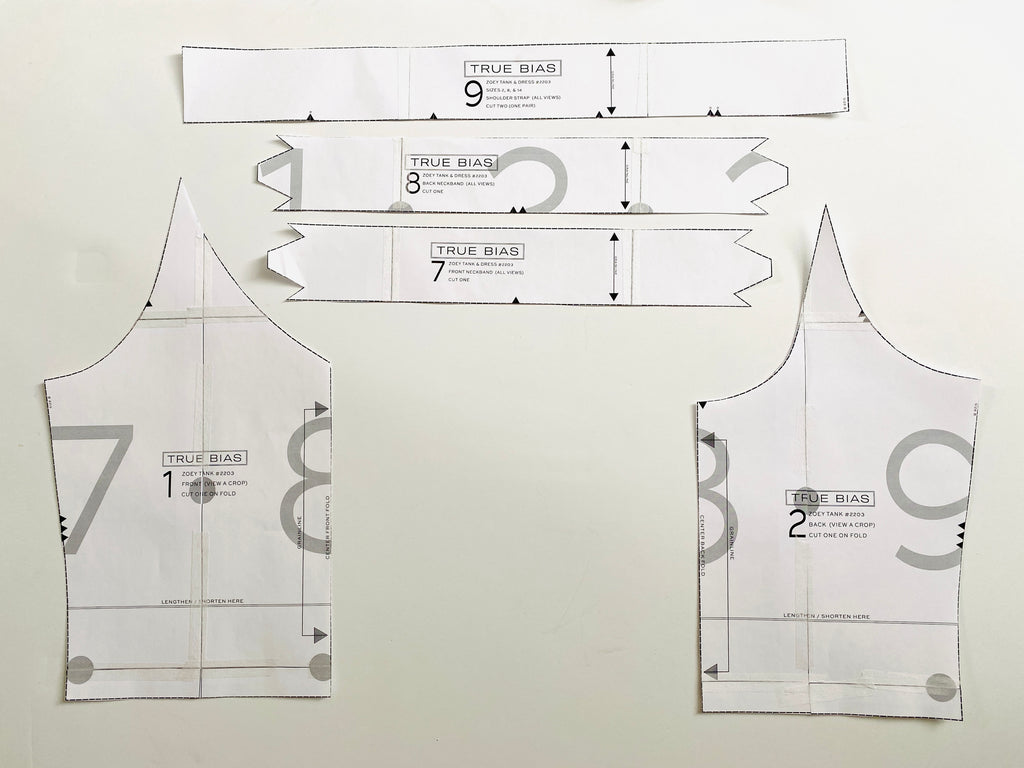
To print at home, make sure that your printer scaling is turned off and is set up to print at 100%. Print page 1 of your pattern first and measure the 2" x 2" square to ensure accurate printing. Cut off the borders as necessary and tape your pattern together, matching the light gray circles and arranging in numerical order as shown on page 3.
LENGTHEN / SHORTEN YOUR PATTERN
If you want to lengthen or shorten your pattern you can do so on the specified markings on your pattern. Because I am 5'3" and the pattern is drafted for someone who is 5'5", I am going to take 1/2" off of View A (If I was sewing the dress view I would take off an additional 1-1 1/2" off of the lower portion as well).


CUTTING OUT YOUR FABRIC
I like to use pattern weights and a rotary cutter when I cut out knits, but you can use pins and scissors as well.

Because the seam allowance is 3/8", make sure that you clip your notches at 1/4" or less.

Also, when cutting out your straps, be extra careful that you cut out a coordinating pair by flipping your pattern piece over when cutting out the second one so that you don't end up with two right or two left straps.

PREPARING BANDS / STRAPS (ALL VIEWS)
Next up we are going to prep all of our bands and straps. I will be using HeatnBond Soft Stretch and spray starch to make it easier, but those two notions are optional.
We will start with the front neck band.

Spray with spray starch first if you are using it.

With wrong sides touching, fold Front Neck Band in half lengthwise. Press.

Open Front Neck Band back up. Fold in the long edge without notches by 3/8", as pictured. I just eyeball this but you can measure and be more exact if you prefer. Press.

If using double sided fusible knit tape, apply fusible knit tape to the wrong side of the Front Neck Band along upper folded edge (the 3/8" stays folded down for this). Leave the paper backing in place for now.


Fold band back up along the middle press line. Press again. Set aside for now.

Repeat previous steps for Back Neck Band and Shoulder Straps.

SEWING CENTER FRONT AND BACK SEAMS (DRESS VIEW C ONLY)
Since I am sewing up View A, I don't have an image for this, but if you are sewing up the dress view of the pattern, you need to sew up the center front and center back seams.
With right sides touching, pin Front sections together, matching notches. Serge or sew the center front seam with a stretch stitch in a 3/8" seam allowance. Press the seam allowances toward one side. Repeat for Back.
That is it for today. Come back tomorrow to start sewing your Zoey up.