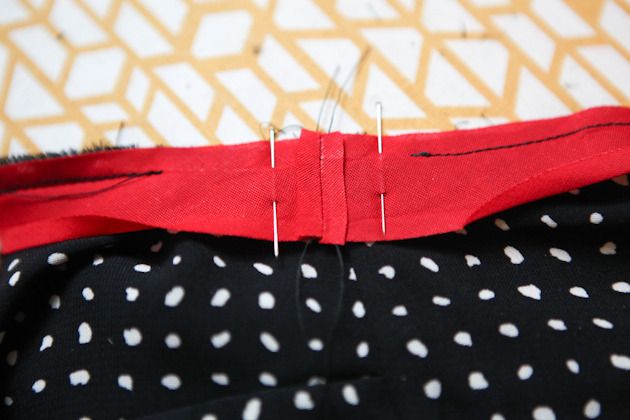
Step 11 - When you get to the underarm seam again, pin the tape together, right sides touching, so that it fits snugly against the armhole. Mark the point where they meet up with chalk or a pen. Trim the excess bias tape so that there is about 1” of tape on either end past your marking.

Step 12 - Unpin the bias tape just a couple of inches to the front and back of the underarm seam and pull the bias tape away from the bodice. Unfold the bias tape and stitch it together where you previously marked it. (You can barely see my pen park in front of the presser foot.)

Trim the seam allowance to 1/4” and press open. Repin the bias tape to the bottom of the armhole and stitch at 1/4” seam allowance so that the bias tape is connected to the armhole all of the way around.


Step 13 - Finish attaching the bias tape to the armhole in the same way as the neckline, except this time in the round. To do this, first press your bias tape over your seam allowance and away from your bodice. Do this on a curved surface such as a tailors ham. Like before, use the steam on your iron to help get a nice curve.

Understitch the bias tape to the seam allowance just like you did for the neckline.

Refold bias tape if needed and turn it to the inside of your garment, turning the seam slightly towards the wrong side of the armhole. Press and pin in place.

Edgestitch along the open long edge of your bias tape, attaching it to the bodice.

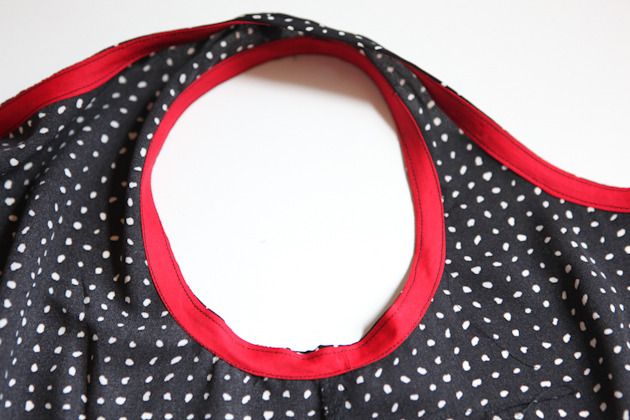
It should look like this once you are done. Give it a good press and repeat for other armhole.


Just a little tip before going forward with the buttonband. If you have a hard time with buttonholes one option is to just sew the buttons through both layers for a faux button opening. You don't actually have to unbutton the dress to get it on and off. I prefer to do the whole thing, but not doing buttonholes does make it a little easier.
Step 14 - Line up your buttonhole guide on top of your buttonband. It should be very close to the same length (You can see that mine is about 1/8" off, probably due to stitching a slightly larger seam allowance on the neckline by accident No worries at all. Just line it up with the top).

On the right buttonband, mark the buttonhole positions and stitch your buttonholes.

On the left buttonband, attach your buttons accordingly.

Button up the two sides, making sure that the tops of each neckline are lined up.

Baste the bottom edges together with right over left, matching center front notches, at a scant 1/2” seam allowance.


That's it for today. The bodice section of your dress is complete. If you are like me you are already wearing it around the house pretending like it's a cute little crop top. Tomorrow we will start tackling the skirt and pockets.

