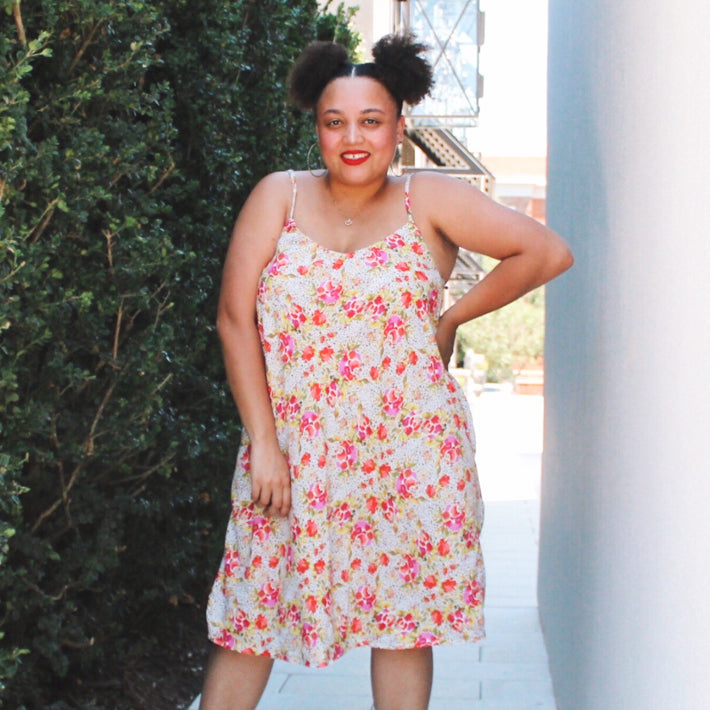
Hi everybody! It's Raven from @Ravenmaureen_! And I'm so excited to guest blog over here at True Bias! I'm a huge fan of all of their patterns (I have several) but the Ogden Cami has a special place in my heart. So much so, that I've made 8 different variations and none of them are quite the same!
Today I'm going to walk you through how to make an Ogden Cami bias slip dress! Slip dresses are definitely "in" right now and if you already own this pattern then you've got all the tools that you need. But here's what you need to know! Fabric cut on the bias is very tricky and sensitive throughout the making process. I suggest trying to finish this project in a day if you can to avoid unnecessary stretching.
Supplies:
- Ogden Cami pattern
- 3-4 yards of fabric (approximately 60 inches)

Fabric Suggestions:
- Satin polyester
- Rayon Challis
- Cotton voile
- Light weight linen
My fabric is from Style Makers Fabric!

Step 1: Extend your ogden cami pattern main pieces to a dress length. Midi is always perfect for a bias slip dress. This depends on your personal preference and height.

Step 2: Extend your strap piece patterns by 3 inches. This step is optional since this will create a deeper neckline for the front and back.
Step 3: Press your fabric and make sure there are absolutely no wrinkles.
Step 4: Find your true bias. No pun intended. Take the corner of your fabric and fold it onto itself right sides together like this.

The wrong side of your fabric should look like a right-angle triangle. You might have to do this step on the floor since it may take up a lot of space. If so, make sure that your fabric is extremely flat and even. You may test your bias by stretching along the fold. If it stretches, then you've found your bias!
Step 5: Take your main pattern piece and line up the folded fabric edge with your "on the fold" pattern edge. Make sure all sides of the pattern piece are inside the triangle. Now you may begin to cut. Using the other edge of the fabric, repeat steps 4 and 5 for the other main pattern piece.

Step 6: Cut all of your pieces this exact same way, including the lining pieces and the straps. You may use the middle of your fabric and fold it into a triangle to get the same bias effect.
Step 7: Once all of your pieces are cut, leave all of your pieces flat on the table. It's best to avoid "fiddling," mock try-ons or holding it up to look at it for the time being.
Step 8: Stay stitch every cut edge of your pieces. In the instructions for the Cami, you are required to stay-stitch the neckline and armholes. Repeat these same steps but add all of the side seams (main and lining pieces), and the hem lines too. Make sure that your fabric does not hang off the sewing table during this process.


Note: Once all sides are stay-stitched, it is completely normal for the edges to begin to ruffle. Do not press them out.

Step 9: Begin following all of the instructions for the Ogden Cami per usual. However, be sure to use extra pins on all of your pieces and avoid letting any pieces hang off your sewing table as you sew. If you can, sew carefully while your other hand holds the excess to keep everything even. Following these guidelines will help you avoid uneven hemlines and over stretched areas.


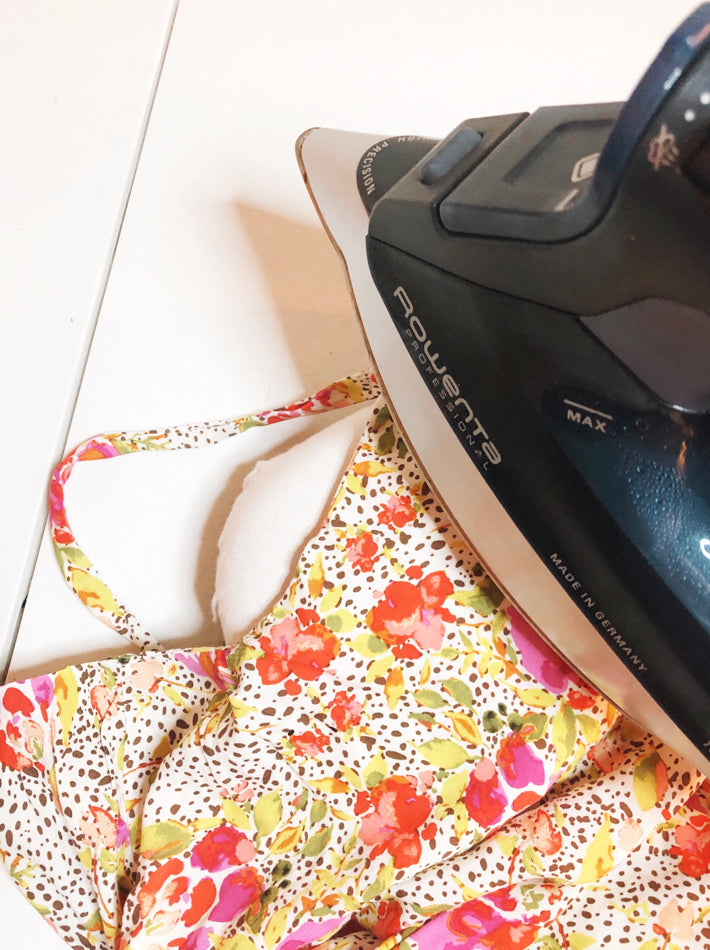
Step 10: Give your dress a good press. When ironing a dress like this you want to avoid dragging your iron across the fabric in circular motions. Simply press, steam, lift and repeat. You may use a pressing ham as well.
Step 11: Complete all the steps of the cami except for the hem finish for the main pieces. Once your slip dress is complete, hang it on a hanger or dress form overnight. Then give it a narrow hem in the morning. This will allow the fabric to fall and drape beautifully.
Your all finished!
