Welcome back for day 4 of the Dani Sewalong. Today we will be working with just Views A and B. We will be finishing up the sides and waistband for these views. By the end of today it will just be a few details left.
With the front and back right sides touching, match up and pin along the side seams and pockets. Be extra careful that the inseam pocket seamline for the front and back as well as dots line up. Pin generously.

Starting at the upper edge of the short / pant on one side, stitch down to the first dot using the normal 1/2" seam allowance. Backstitch. Start again at the second dot, backstitch and stitch down to the hem using the normal 1/2" seam allowance. Note that this new stitch line is 1/8" in from the seam attaching to the inseam pocket. This allows the pocket to stay hidden inside of the side of the shorts / pants.

Stitch around the outside of the pocket, starting at the top outside edge and ending at the side seam stitchline and backstitching. Repeat previous two steps for other side and pocket.


Press pockets and seam allowances towards the front short / pant. Baste along the top edge at 3/8" to temporarily secure it in place.

If you haven't already, fuse interfacing to the wrong sides of the left and right front waistbands.

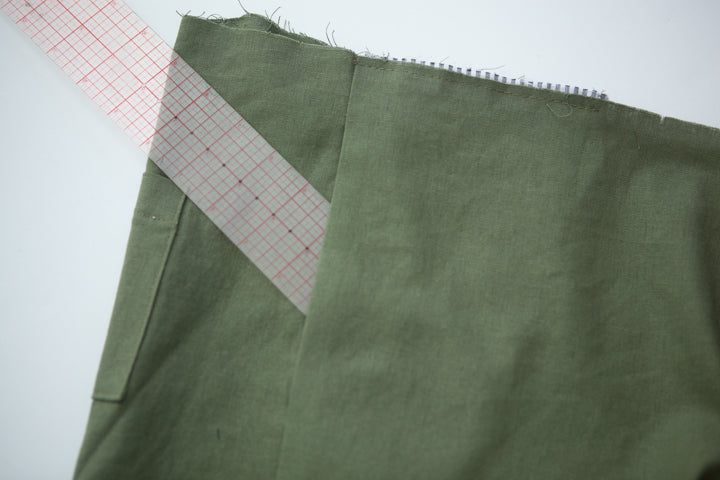
With right sides touching, pin the back waistband to the left and right fronts, matching notches. Stitch. It should look like the image below when done. Be very aware of your right and left sides, top and bottom.

Flip over. Trim seam allowances to 1/4" and press open. Fold down the top edge towards the wrong side by 3/8" Press.

With right sides touching, pin the unfolded edge of the waistband to the top of your short / pant.

The inside edges will overlap the center front and fly shield of the short / pant by 1/2". Match waistband notches to center back seam and side seams. Match waistband seams to notches on front short / pant.

Sew at the normal 1/2" seam allowance.

Grade seams by trimming the one closest to the outside to 3/8" and the inner one to 1/4".

Press waistband and seam allowances up.

Take the folded edge of the waistband and fold it to the outside with right sides touching. Overlap the folded edge past the waistband seam by about 1/16". Pin.


Stitch the center front edge at 1/2" seam allowance so that the line of stitching is flush with the finished edge of the fly.


Repeat for right side. Clip corners and grade seam allowance as shown.

Turn the waistband right side out. On the inside, make sure the folded lower edge of the waistband self facing covers the seamline by about 1/16". Pin in place. Press the waistband so you get a nice squared edge at each center front corner. Zip up the zipper and check to make sure the upper edges of the right and left seams align.

On the outside, stitch in the ditch by carefully sewing along the seamline, catching the edge of the folded waistband self facing on the inside of the short / pant. You will be sewing from one seam line, around the back, to the other as shown below, leaving the front portion open. Backstitch at each end.


Starting and stopping at the waistband seams as shown below, stitch 1/4" from the top folded edge. Backstitch at both ends. This creates the small paperbag affect on the waistband.

Cut a length of elastic according to the elastic cut chart on page 2. Attach a safety pin to one end and insert it through the waistband channel, making sure the elastic does not twist as you pull it through. You will only be inserting it through the back portion of the waistband, starting and stopping at the seamlines. Be careful not to let the back and of the elastic slip into the waistband where you can't access it.

Adjust your elastic so that it overlaps the seamline by about 1/2" on each side. Pin securely. This is a good time to try on your short / pant to check the fit of the elastic before stitching.

With the short / pant unzipped, stitch in the ditch along each vertical seamline where the back and front waistbands meet. Stitch through all layers, securing the elastic as you sew and backstitching at the ends.
Also stitch in the ditch along the bottom portion of the left and right front waistband pieces, catching the edge of the folded waistband self facing on the inside of the short / pant and completely enclosing the waistband at the same time. Backstitch at each end.


Evenly distribute gathers around the back waistband. Press and pin. If you havn't done so already, mark your stitch lines. You have already sewn the top stitchline, so just mark the bottom two.

With an elongated stretch stitch (zigzag stitch with 3mm length and .5mm width), start at one end of the back waistband and stitch through all layers along each stitch line at the the other end of the back waistband, backstitching to secure.


That is all for today. Come back tomorrow and we will finish the Dani's. up.

