Welcome back for the third day of the Blair sewalong. Let's jump in.
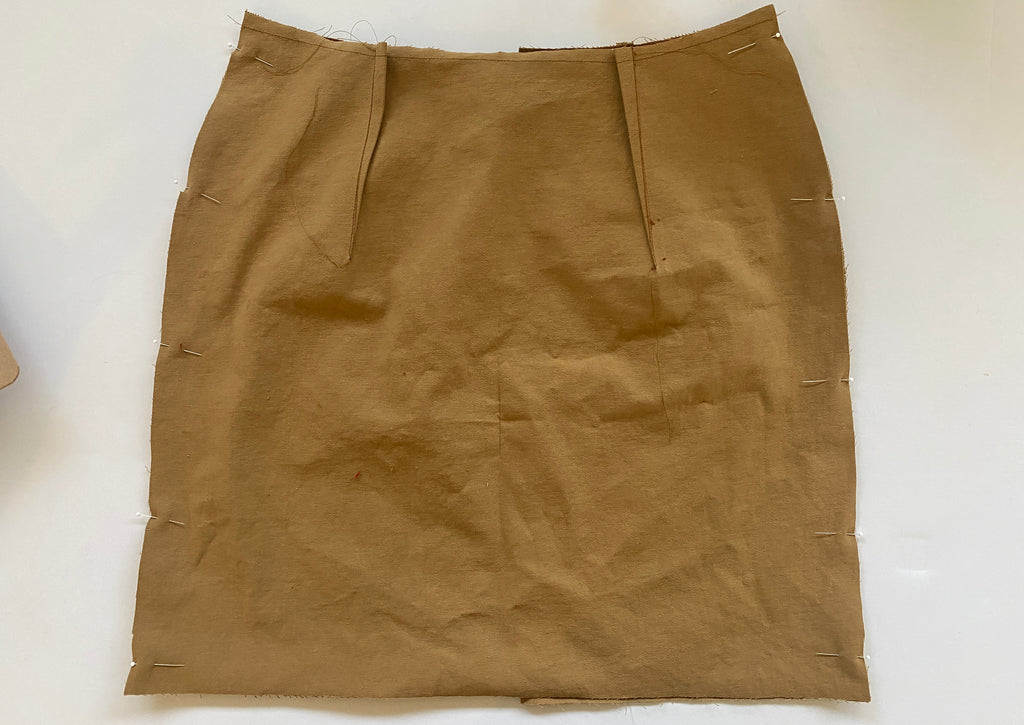
Step 13 - With the right sides touching, pin the Skirt Front sections to the Skirt Back at the side seams, matching the notches.

Sew using a normal 1/2” seam allowance.
Finish seam allowances by either serging, zigzag stitching or by using pinking shears. I am serging mine.


Press seam allowances open or toward the Skirt Back.

Step 14 - With the Skirt inside out, fold up the lower edge by 1/2”.

Fold up again by 1 1/2”. Press. Pin.

Stitch close to the folded edge. You can also slipstitch the hem by hand for a higher end finish.

Step 15 - Fold each Button Band in half lengthwise, wrong sides touching, along the inner edge of the interfacing; press.

Open the Button Band back up. Fold the long unnotched edge (on the side without interfacing) of the Button Band in by 1⁄2”. This will be the front side of the Button Band.

Step 16 - Pin the long notched edge of one Button Band to the center front edge of the Skirt, matching the notches. The right side of the Button Band will be touching the wrong side of the Skirt. The Button Band should extend 1⁄2” past the bottom of the Skirt.


Stitch using a normal 1/2" seam allowance.

Grade the seams to reduce bulk. Press the seam allowances towards the Button Band.

Step 17 - Fold the Button Band back along the center fold, right sides touching, aligning the lower raw edges.


Stitch across the Button Band 1⁄2” from the lower end, lining it up with the finished hem.

Trim the seam allowances and corner.

Step 18 - Turn the Button Band right side out.

Pin (or use a glue stick like me) the folded edge of the Button Band so it just covers the stitching on the right side of the Skirt. Press.

Edgestitch both long edges of the Button Band as pictured. Repeat for other Button Band and side of the skirt.

This is a good time to try on your skirt and check the fit. It will be hard to adjust the side seams once the Waistband is on.
That is all for today. Come back tomorrow and we will tackle the Waistband.

