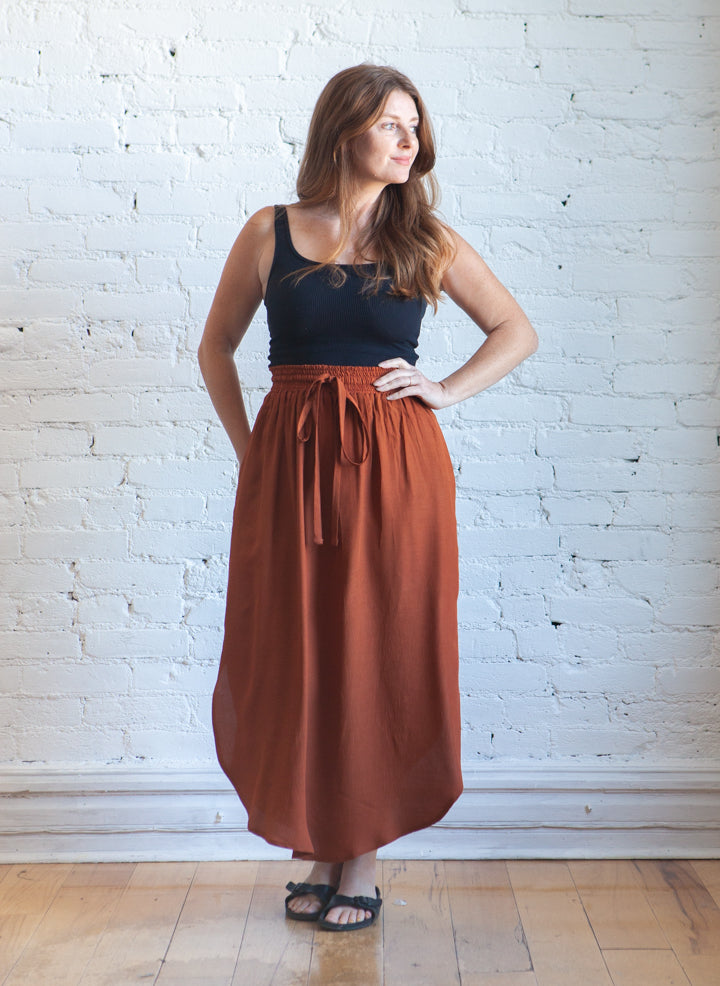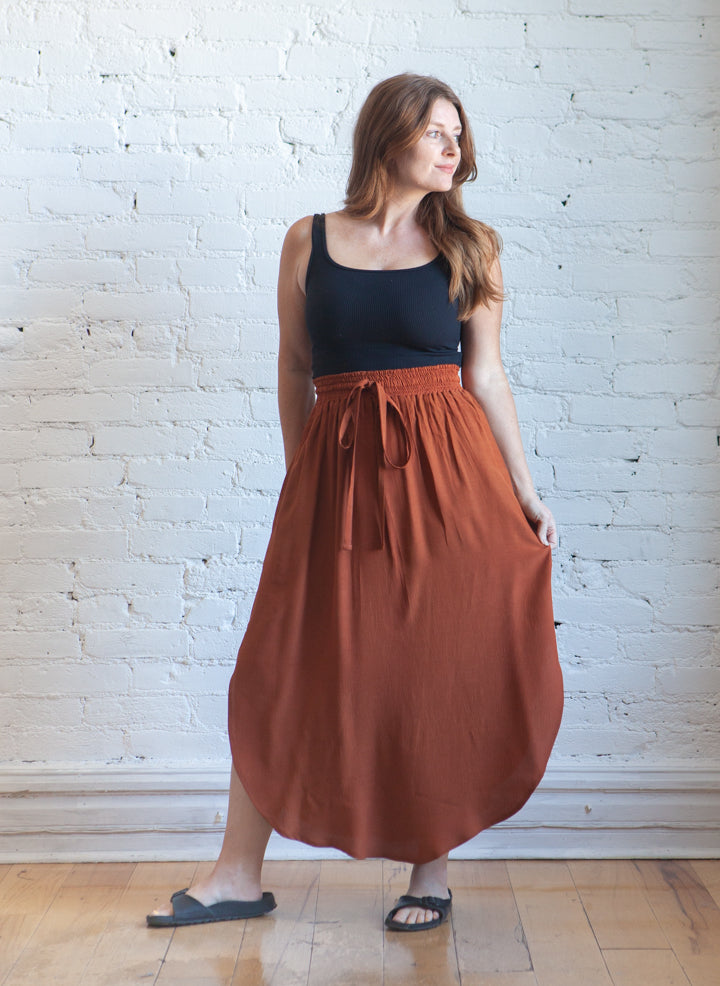
Apparently I can't get enough of the Mave skirt, because I am back today with another hack for you. Today I will show you how to simply adjust the pattern for a curved hem look instead of the straight hem it comes drafted as.
You will need pattern piece 1 - (front and back). No other pattern pieces will be changed and you won't be using any of the ruffles for this hack.
First, decide were you want the top of your curve to end at the side seams. This is essentially the top of your slit. I decided I wanted it to end about an inch below the mini cut line. Make a dot marking at this spot, 1/2" in from the cut edge so it lands on the stitch line.

Next, decide how long you want the skirt in the front and back and make a horizontal line to mark this at center front / back. I decided this would look better if it hit a bit shorter than maxi so my marking is a few inches up from the bottom.

Now it's time to free hand. Connect the bottom horizontal line to the side seam in a big, softly curving line. The top of the curved line should intersect the side seam just before the dot (which is on the stitch line).

Trim your new hem line.

Cut out your pattern pieces and start to assemble and sew your Mave skirt according the directions, except for the following changes made to the side seam and hem.
First, when you are finishing the side seam alllowances, stop the finishing at the dot. Sew your side seams down to the dot and back stitch to secure.

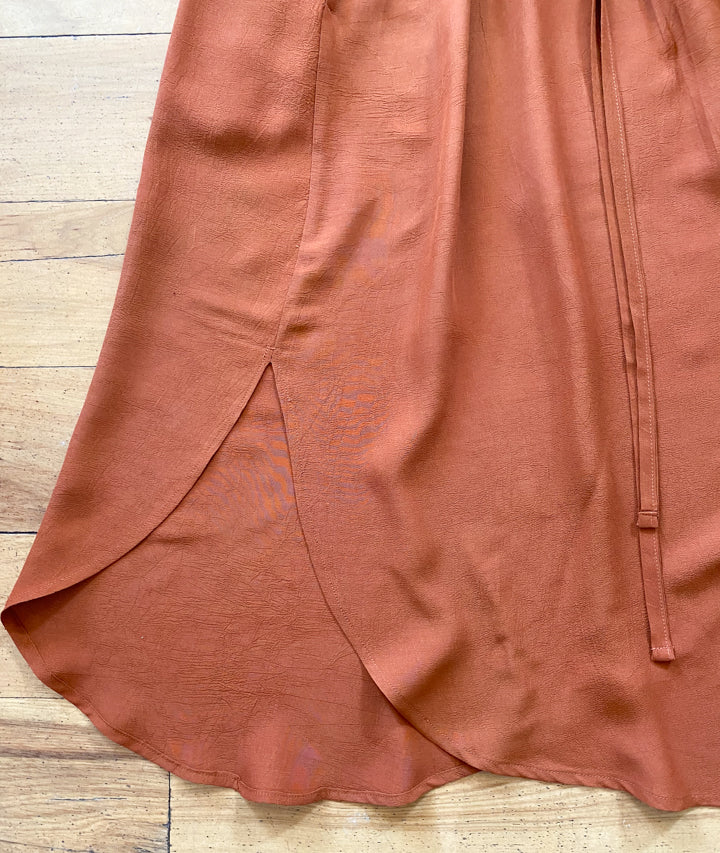
Finish the hems of both the front and back by first folding in by 1/4" and pressing and then folding again at 1/4" and pressing. Pin. Note that the seam allowances above the dot are both pressed towards the front as written in the instructions. At and below the dot, press seam allowances open to accommodate the hem as shown below.

Stitch the hem close to the inside folded edge. When you get to the dot, leave your needle down, pivot, stitch across just above dot, leave your needle, pivot, and stitch back around the other side or your hem. This will keep everything nice and flat and secure.

Give everything a good press and you are done.