
We are back for the second week of Ogden Month and the second hack. Today we are going to use the Ogden cami pattern to create a short, button front dress. I'm loving how this hack turned out and can't wait to show you how I created it.
As far as fabric goes you will need your main fabric (I am using a linen cotton blend), lightweight fusible interfacing, and about 6 5/8" buttons.
For this hack you are going to need all of your pattern pieces. So go ahead and get those printed and ready to go.
Lets start with pattern piece 1 - the main front piece.
- First, we need to lengthen it to a dress. I wanted mine to be a few inches above the knee and I am 5'3". In the end I added 11 inches to the bottom and that was perfect for me (it includes a 2 inch hem). But depended on your height you may want to add more or less length.
- Next we need to connect the side seam down to the new hem. You will free hand this, leaving a small curve for the hip. You will take more width out later once it's sewn up and you try it on so dont be too worried about it. Just do you best as a starting point.
- Since the Ogden is cut on the fold, we will add width for the button overlap (I will add 5/8" for my 5/8" buttons. This will give a little extra room around the buttons when they are centered at center front.) and also 1/2" for the seam allowance at center front.

For the back, it is going to be cut on the fold so you do not need to worry about center back. Just extend that line straight down.
For the side seam and bottom of the back, flip the front onto the back and line up sides. Keep the grainlines the same so it stays balances and copy the side seam and bottom front the front to the back piece so they match. Super simple. Remember that you will be basting and adjusting the sides later.
Your front and back should look something like this.

Now for the linings which really are more like facings when we get done with them.
- First copy the center front extention (5/8" button extenttion plus 1/2" seam allowance plus length of the dress.)
- Next, Starting at the side seam, we are going to trim the facing so it's about 2 21/2" wide. Do not cut too close into the strap area. Keep the cut line a smooth curve. It should look something like this:

Do the same for he back facing.

In the end your facings should look like this:

Now cut out your pieces as follows:
- 2 fronts main fabric
- 1 back cut on fold main fabric
- 2 straps main fabric
- 2 front facings main fabric
- 2 front facings interfacing
- 1 back facing cut on fold main fabric
- 1 back facing cut on fold interfacing
Apply fusible interfacing to facings.

Sew up side seams of facings. Press seam allowances open. Finish the inside edge of your facing in your desired manner. I serged it.


Now sew up the main dress according to the instructions by sewing up the straps and staystitching.


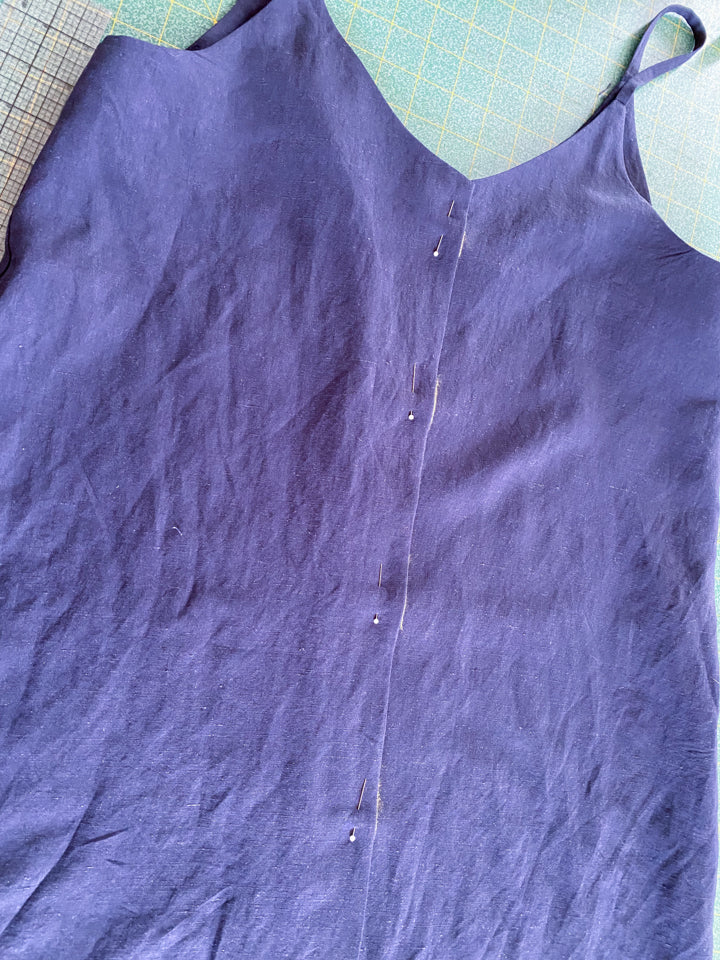
With right sides touching, pin up side seams. Because we are going to be fitting the dress later, I recommend stitching the first few inches down (including finishing the seam allowance) and then basting the rest of the way to the hem. We will come back and finish the side seams after fitting them.

Press seam allowances towards the back.
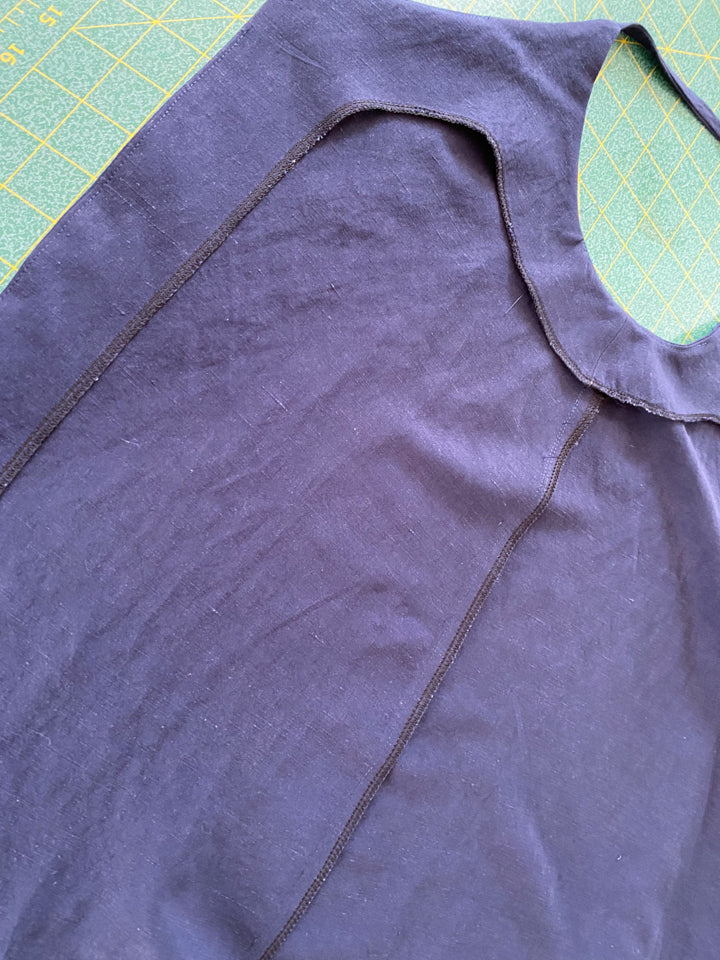
With right sides touching, pin the facing to the main dress. Following the instructions for the Ogden, stitch, add in straps, trim and understitch.

The only difference is that at center front you want to stitch straight down to the hem and clip the corner seam allowance to avoid bulk.


Once it's all turned out and pressed it should look like this:

Next, let's address the side seam fit. Overlap the right side over the left by 1 1/4" and pin. Try on the dress inside out and pin the side seams until you get the right fit. Trim excess and stitch the side seams accordingly. Finish seam allowances and press towards back.


Next up hem. Finish the bottom raw edge (I serged it).
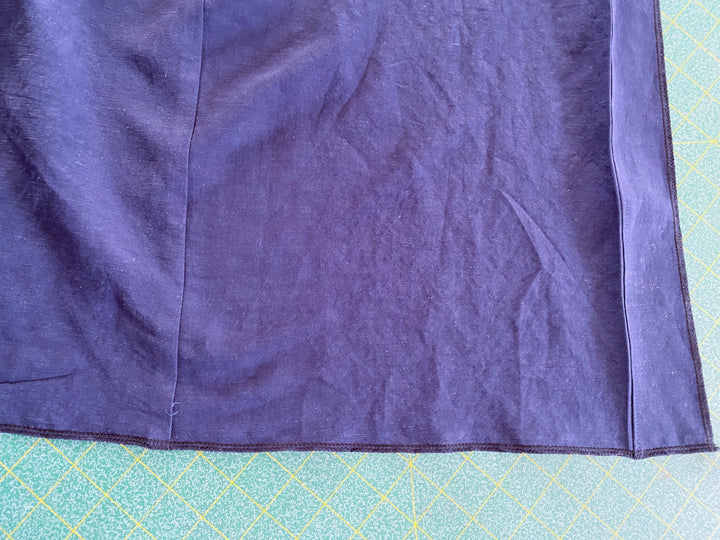
With right sides touching, fold the facing back onto the main dress and pin.

Stitch the length of the facing at the height of your hem (I am sewing a 2" hem).

Clip corners and turn right side out. This will give you a nice finish at the center front corners.


Continue to press up your hem all of the way around the dress. Pin and stitch from facing edge to facing edge.


Now we just need to add the buttons.
On the right front when wearing, mark button holes vertically down the front. The buttons holes should be at center front (5/8" in from the folded edge) and start about 5/8" down from the top. Sew on button holes and open them.

With the right side 1 1/4" over of the left, mark button placement thru open buttonholes. The first button is at the top of the first buttonhole and the others are centered in the buttonholes.

Sew on buttons. Give it a good press and we are done!


I hope this Ogden hack was fun. Let me know if you have any questions.