Welcome to day 1 of the Rory Jumpsuit Sewalong. I am so excited to get started. I hope you have your pattern assembled and your fabric cut out and ready to go. Make sure that you have transferred all notches and symbols from your pattern pieces to your fabric. Also, mark the dots for the D-ring ties on the front side and back side pieces if you are sewing that option.
Step 1 - Fuse your interfacing to the wrong side of the front neck facing, the back neck facing, and 1/4” down from the upper edge of the pocket pieces as shown below.
Here is a close up of where you are placing the interfacing for the pocket edge.
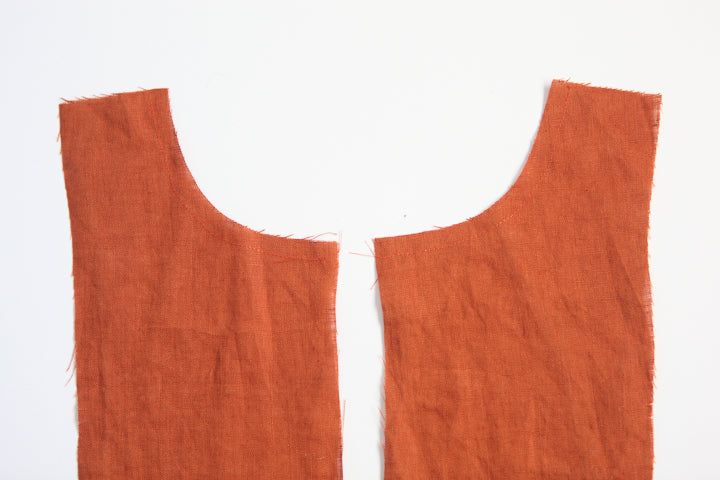
Step 2 - Staystitch the neckline on the center front and center back pieces at 3/8” seam allowance from the top edge towards the bottom. I know that a lot of people skip staystitching, but it really does make a difference. I have found that if I don't staystitch the front next edge it will bag out and be hard to attach to the facing. If your fabric has a looser weave you might even staystitch the neck facing edges although I generally find that the interfacing is sufficient in a medium weight woven fabric.
Here is a closeup since it's hard to see.
For sleeveless views A & C, also staystitch the armholes on the side front and side back pieces at a scant 1/4” seam allowance from the top of the armhole down.
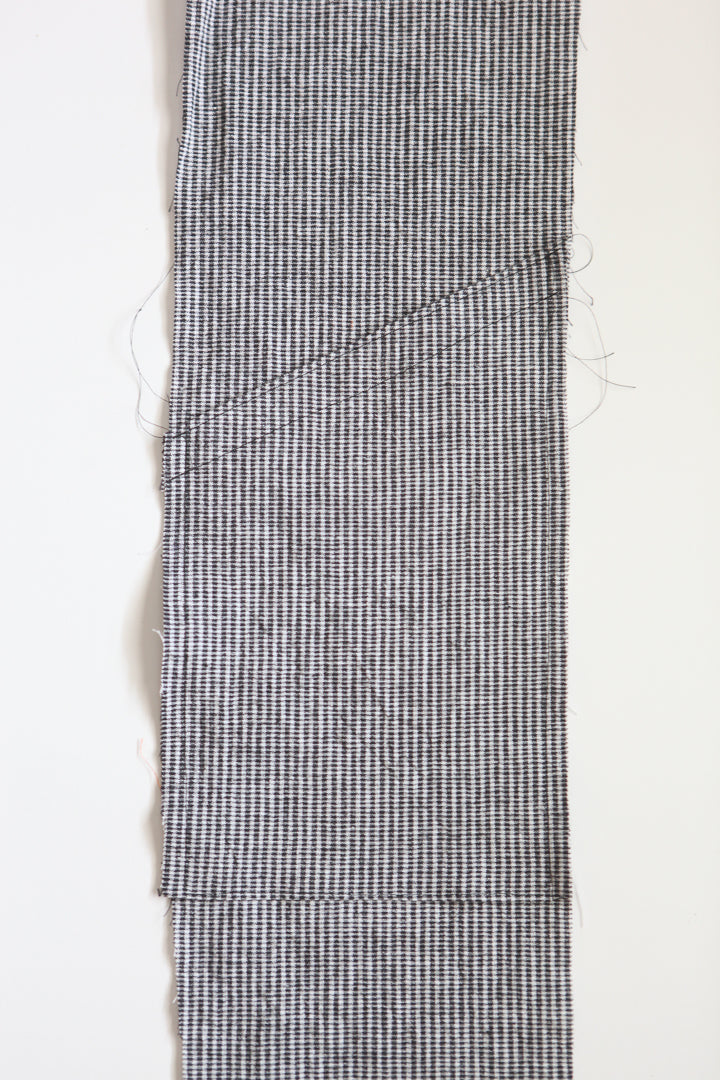
Step 3 - With right sides touching, pin and sew the shoulder seams of the front and back neck facings at 1/2".
You can finish the seam allowance here in your desired manner, although it will not be exposed so it's not necessary. I decided to skip it here. Press seams open or towards the back (if serging the seam allowance).
Step 4 - Finish the outside edge of your assembled neck facing in your desired manner. I am serging it to keep it simple. You do not need to finish the bottom or inside edges. Set the facing aside for now.
Step 5 - Fold the top edge of one pocket down, wrong sides touching, by 1/4" and press. This is along the top edge of the fused interfacing.
Fold again, wrong sides touching, at 7/8”, and press. This along the bottom edge of the fused interfacing.
Edgestitch, the lower folded edge and the top edge. I stitch at about 1/8" from the folded edges, but the distance is up to you. I just recommend being consistent as there is a lot of topstitching in this pattern and you want it to match.
Here is a closeup of the back.
Here is a closeup of the front.
For the pant version (views C and D), fold the bottom edge of the pocket up by 1/2”, wrong sides touching, and press. Repeat step 5 with remaining pocket.
Step 6 - With right sides facing up, pin the pocket to the side front panel, matching notches, with raw edges even. For the short version, the bottom raw edge of the pocket will line up with the bottom of the side front panel.
For the pant version, the pocket will align with the middle set of notches. Pin in place. Edgestitch along the bottom folded edge of the pocket for the pant version.
For all views, baste along the side edges at 1/4” to secure.
Optional D-Ring Ties (If you are not adding the ties, you are done for today and can skip ahead to step 13 tomorrow.)
Step 7 - With right sides touching, fold each front and back tie piece in half lengthwise. Pin and stitch the long edge at 1/2” seam allowance.
Trim seam allowance to 1/4”.
Step 8 - Turn ties right side out using a loop turner or safety pin.
Press and Edgestitch along both long edges.
Step 9 - Fold in one raw edge of each shorter tie by 1/4” and press. Fold again by 1/2” and press.
Insert two D rings and insert them into the loop created by the fold and pin. Edgestitch along the fold to secure the D rings into the tie. It is sometimes easiest to move your needle over so that you can stitch close to the edge but also keep the D rings far enough from the presserfoot.
Step 10 - Fold one raw edge of each longer tie in by 1/4”, and then again by 3/8”.
Stitch along the folded edge to secure.
Step 11 - Pin one back (longer) tie to the right side of each side back, centering the raw end over the dot so the raw edges match up. Baste to secure. (The wrong side of the tie should be facing up.)
Step 12 - Pin one front tie (tie with the D rings) to the right side of each side front piece, centering the raw end over the dot so the raw edges match up. Baste to secure. (The right side of the tie should be facing up.)
That is it for today! Check back in tomorrow for the next steps.


