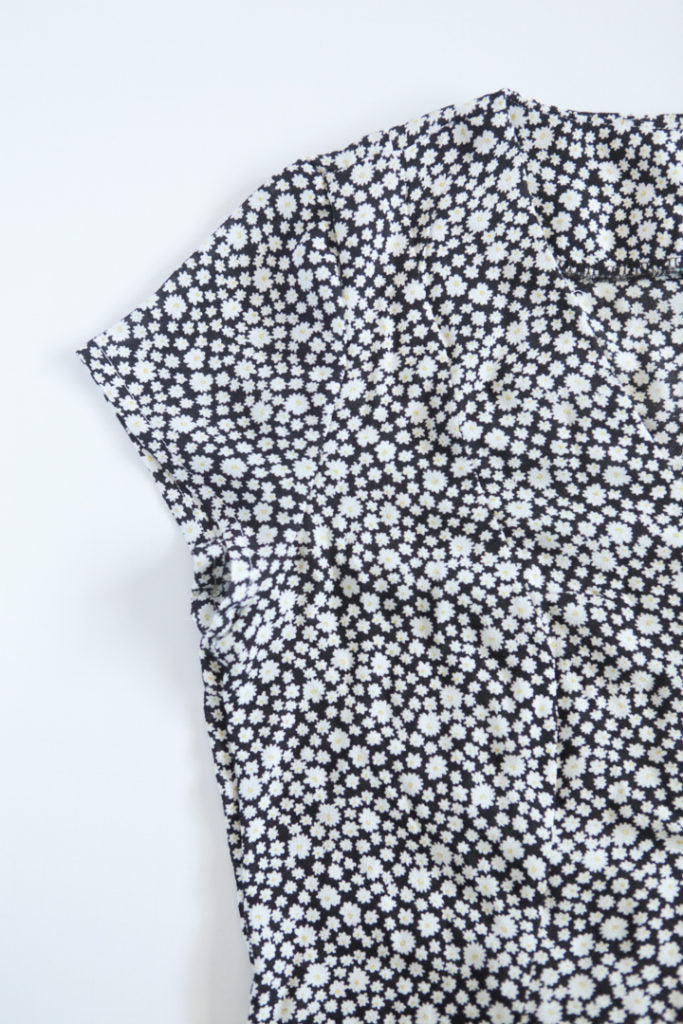
Although technically the longer traditional sleeve is for the dress views and the shorter cap sleeve is for the romper views, you can interchange them with all of the options. Let's go over both.
Step 25 - The first thing we need to do is gather the ease of the top of the sleeve. Baste the upper edge of the sleeve at 5/8" seam allowance, and again at 3/8" seam allowance. To baste you will increase your stitch length to about 5mm.

When basting, start on one side of the sleeve cap at the first notch, and continue around cap, past the shoulder notch, to the final notch on the other side of the curve. Do not backstitch. Leave the long thread tails to aid in easing.

Step 26 - For the cap sleeve, fold the bottom raw edge of the sleeve up by 1/4", wrong sides touching, and press.

Fold up by another 3/8".

Press, and then unfold. These fold lines will make it much easier to hem your sleeve later on.

For the traditional short sleeve, fold the bottom raw edge of the sleeveup by 1/4", wrong sides touching, and press.

Fold up by another 1/2".

Press and then unfold. These fold lines will make it much easier to hem your sleeve later on.

Step 27 - With right sides touching (and the hem unfolded), pin and stitch the inner arm seam. Trim seam allowance to 3/8" and finish in your desired manner (I am serging). Press the seam allowances open or towards the sleeve back.


Step 28 - Re - fold the sleeve hem along the previously pressed lines and pin.


Stitch close to the fold to secure.


Step 29 - Make sure that your sleeve is right side out and your dress/romper is inside out. Slip the coordinating sleeve into the garment and lineup the armhole openings.
Match up the underarm seam with the side seam, and place the shoulder (middle) notch at the shoulder seam. Align the outer notches and gently pull on the basting thread tails to ease the fullness of the sleeve cap into the armhole of the garment. Use your fingertips to evenly spread the small gathers, trying to make them as even as possible. Generously pin the sleeve into place

Use a the pins as anchor points for the basting stitches by wrapping the long ends around the pins in a figure 8 pattern.

Slowly stitch the armhole seam, feeding the fabric under the presser foot evenly, so there are no obvious gathers in the finished sleeve cap.
Step 30 - Remove basting stitches from sleeves. Trim seam allowances to 3/8" and finish in desired manner. Press finished seam allowances towards the sleeve.


That is it for today. Come back tomorrow and we will finish our Shelby's by hemming them and sewing buttonholes / attaching buttons. Can't wait!

