It's the last official day of the Rio sewalong, but please continue to check back for lots of fun hacks and tutorials to come. I have some great stuff planned for the Rio.
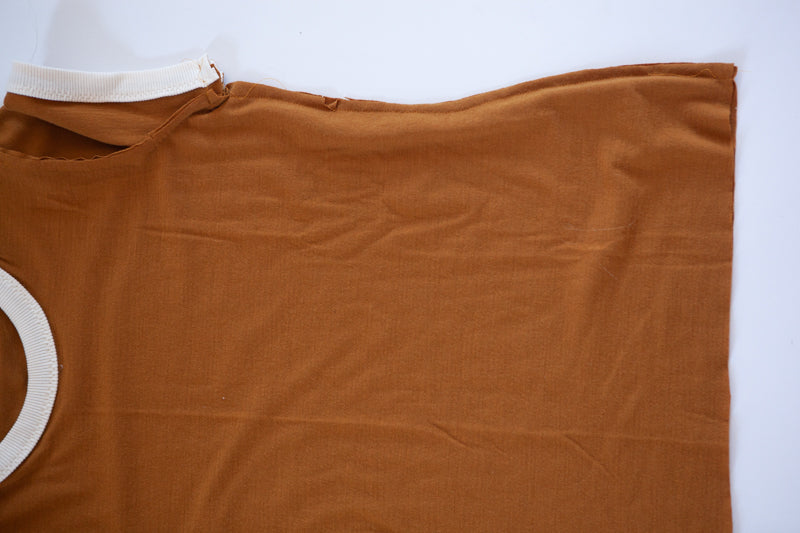
Today is where everything comes together. The first thing we will do is attach the sleeves to the body. With right sides touching, pin the sleeve to it's coordinating armhole matching notches. Match the middle notch to the shoulder seam of your garment first and then the front and back notches.

Sew (using a stretch stitch) or serge using a 3/8" seam allowance. Press seam allowances toward the sleeve.


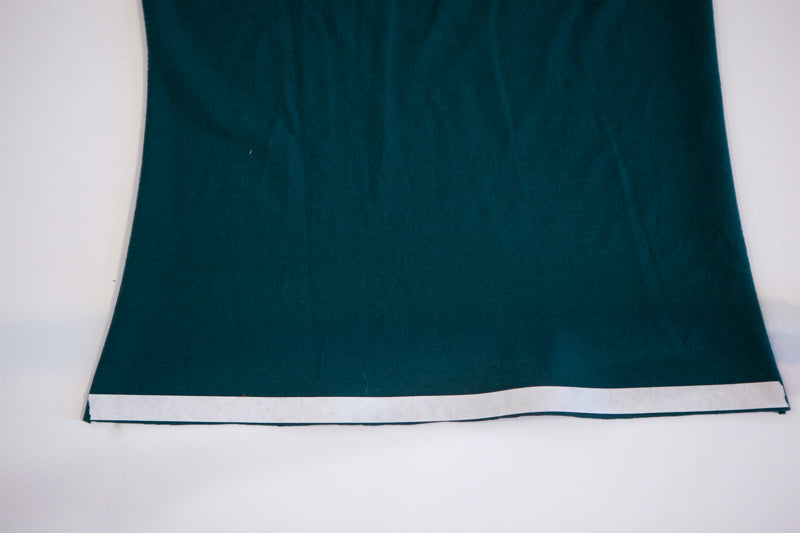
If you are using soft stretch, iron a strip along the front and back hems at this time.

With right sides touching, pin the front to the back at the sides and continuing to pin the under sleeve. Pay extra attention to the sleeve bands and underarm seams to make sure they match up.

Sew (using a stretch stitch) or serge at 3/8" seam allowance in one continuous line of stitching. Press seam allowances towards the back.


Finish the sleeves like you did for the neckline by sewing (using a stretch stitch) 1/8" towards the back of each underarm seam along the width of the sleeve band, catching the seam allowances underneath.


Use the iron with steam to reshape the arm bands if necessary.
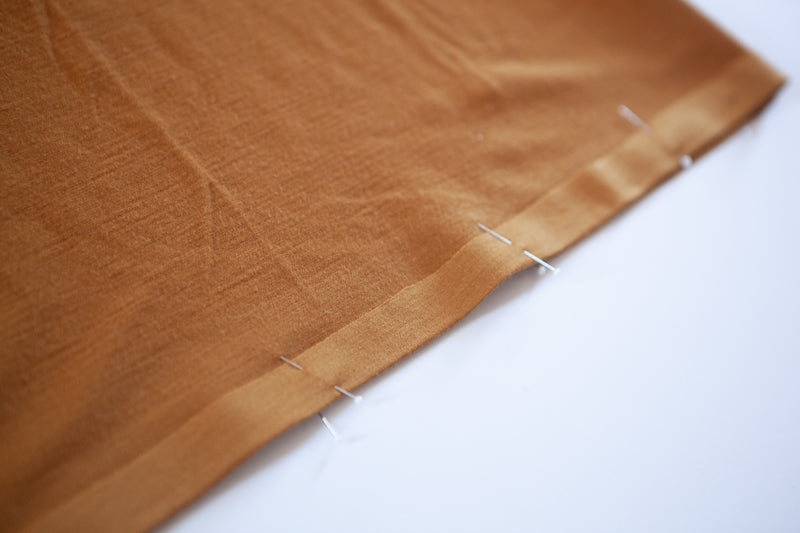
Turn the bottom of the garment up by 5/8" and press for the hem. Pin.


Using a zigzag topstitch or twin needle, stitch the hem in place.

That is it! I hope that this sewalong was helpful and that you love your new Rio.

