As part of Ogden Month, I am sewing up four different hacks for the Ogden cami pattern. The first one is this peplum version with rouleau buttons down the front. I'm really excited about this one. It's a pretty simple hack overall, I think the button feature really adds a lot.
For this hack you are going to need 3 of the pattern pieces. You will need the strap, the front lining and the back lining. I decided to add an inch to the bottom of pieces 3 and 4 since I likes where that hit better, but that is up to you.

We also need to add seam allowance to the front bodice. To do this, simply add 1/2" to the center front of pattern piece 3 as shown below.

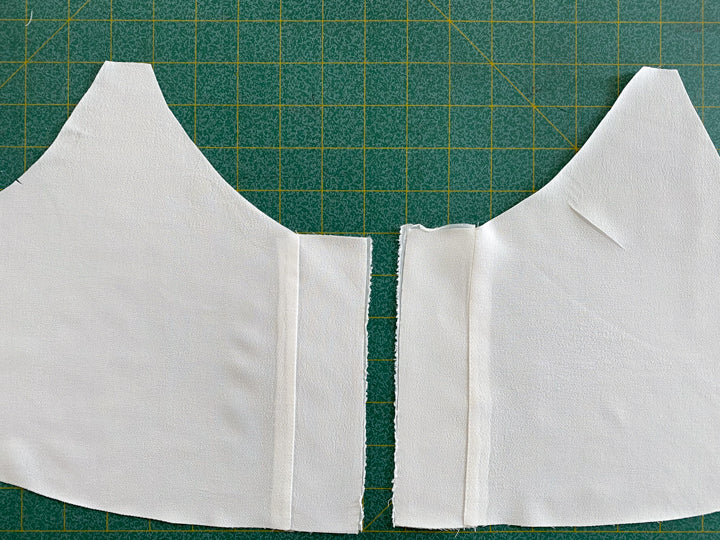
Next we need to draft an extension for the left center front. This extension will make sure that you have coverage behind the rouleau buttons. The extention will 1" wide plus seam allowances, so 2" wide and the length of Center front.

Lastly, we need to draft the loops for the rouleau buttons. This will be 1 1/4" wide and 10 inches long. This will be long enough for 5 2" loops. Make it longer if you are adding more buttons.

Now cut out your fabric as follows:
(3) Front - Cut 4 (2 main and 2 lining)
(4) Back - Cut 2 on fold (1 main 1 lining)
(5) Strap - Cut 2
Left Extension - Cut 2 Main Cut 2 Interfacing
Button loop - Cut 1 on bias
Leave some fabric for the peplum. We will be cutting that out after we have assembled the top portion.
Apply fusible interfacing to the backs of the extensions.

On the left front (when wearing) main and lining, sew extention along Center front.

Trim seam allowances. Press extention away from center front.

Sew up the sides seams so you have a main bodice and coordinating lining bodice.

Make the rouleau button loop. Fold in half, right sides touching, sew 1/8" away from the fold.

Trim seam allowances to 1/16".

Turn right side out, press and cut in 2" sections.


Fold each 2" section into a small loop. Tape or pin to the center front of the right side of your main bodice when wearing. Keep in mind that the center front has a 1/2" seam allowance at the top and bottom. Position and space accordingly.


Pin the lining for the right front on top of the main right front. Baste down at 1/2" seam allowance to check the loops.


When happy with it, pin the rest of the lining to the main bodice and sew up according the Ogden instructions.

Staystitch, sew up the sides seams, sew and attach straps, and sew the lining to the main bodice. The only difference is at center front. You will sew straight down center front at 1/2" seam allowance on the left and right sides.

Trim and turn it right out and press. It should look something like this.


Place the right side over the left side when wearing so that it lines up at center front. Baste the bottom of the bodice together at 3/8" seam allowance all of the way around.


Now it is time to draft the peplum. Measure the front and back bottom edges. Take that number and multiply by 1.3. Round to the nearest whole number, and add 1 inch for seam allowance. This will be the width of each peplum. We will use mine (size 6) as an example.
Front = 19.5" x 1.3 = about 25 + 1 = 26"
Back = 18.5" x 1.3 = about 24 +1 = 25"
For the length I cut 8". I knew that I wanted mine cropped though so you may want to cut it longer, knowing you always trim it later.
Cut your two pieces and pin right sides touching. Sew up short sides, finish seam allowances and press open.

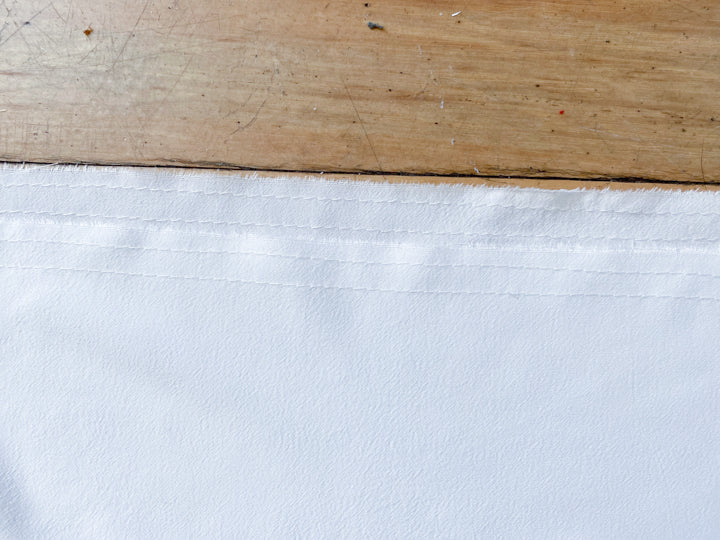
Baste along front and back top edge at 3/8" and again at 5/8".

Gather top edge so it matches the width of your bodice.

Pin with right sides touching. Sew at 1/2" seam allowance.


Finish seam allowances and press them down towards hem.

Try on and check length. Trim if needed (I took off 2 inches).
Hem by folding at 1/4" with wrong sides touching. Fold again at 1/4" and stitch.

Lastly, buttons. Mark button placement through button loops.


Hand sew on each button.


And that is it. I really love how this Ogden hack turned out. Let me know if you have any questions.


