THE FOLLOWING STEPS ARE FOR VIEWS C & D ONLY
Welcome back to day 2 of the Nova Jumpsuit Sewalong. Today we are continuing our sewalong with sewing up the pockets of views C and D of your jumpsuit (views with no elastic waistband).
First, fuse a Pocket Interfacing piece to the wrong side of each of the two Pockets, AND on the wrong side of the Front Jumpsuit pieces, matching dots. Unlike views A and B, views C and D only has two pocket pieces since we use a different method to attach the pockets.


To stabilize the Pocket opening edge, shorten the stitch length on your sewing machine to 1.5 mm. On the right side of your front jumpsuit, stitch from edge to upper dot, then pivot and stitch down to lower dot. Pivot again, and stitch to edge. This is 3/8" from the side of your jumpsuit.

Clip at an angle to each dot, being careful not to cut through stitch line.

Turn the seam allowances between the dot toward the wrong side of the jumpsuit, folding along the line of stitching. Press.

Topstitch 1/8" from folded edge between dots to secure.

With the right side of the Pocket touching the wrong side of the Front Jumpsuit, pin the pocket in place, matching up the dots and making sure everything lays flat.
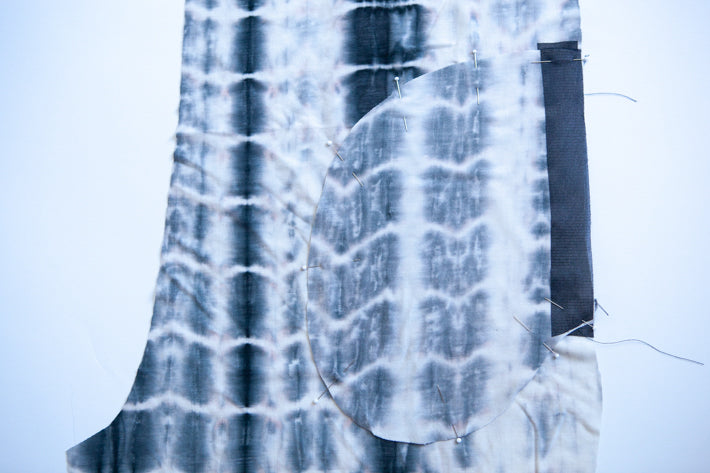
Stitch around the edge of the pocket, 1/4" from the raw edge, using a stretch stitch to secure.
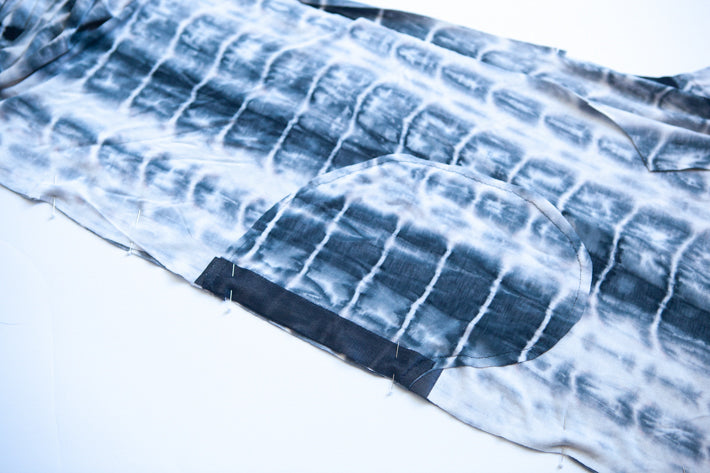
Wrong side.

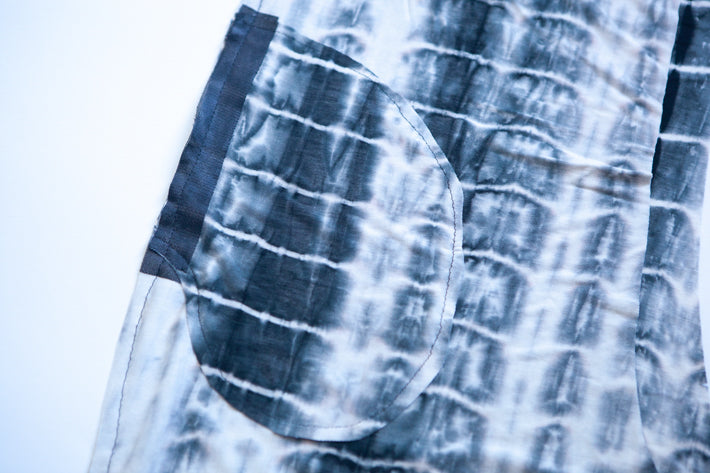
Right side.

With right sides touching, pin the Front Jumpsuit to the Back Jumpsuit, matching notches.
Sew the side seam with a stretch stitch, using a 3/8" seam allowance. (I do not recommend using a serger on this part as it is very hard to accurately sew the pocket area on a serger.) As you stitch towards the pocket area, gently pull back the pocket opening so it doesn't get caught in the line of stitching.

The goal is to stitch as closely to the dots and corners as possible, while still leaving the opening free. Press seam allowances toward the Back Jumpsuit. You can baste this area first if you like. I usually need to go back and stitch this area closer after my first try.
It should look like this on the front of your jumpsuit if you did it correctly.

Repeat steps 10-13 for other side of jumpsuit.
That is it for today! Come back tomorrow to continue making your Nova jumpsuit.