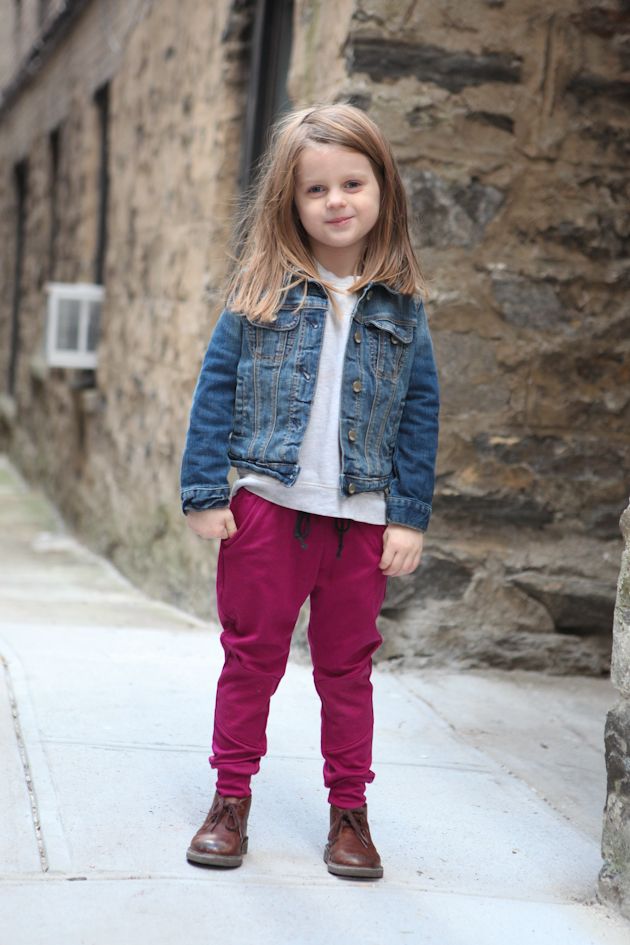
I thought I would share a little
mini hudson pant variation tutorial with you guys today in preparation for the blog hop coming next week. These pants were inspired by a pair that I saw from
Gapkids that I also included in my
ready to wear inspiration post last week. It's really easy to do and not only does it add a little extra style to the pants, but it also reinforces the knee area which is always the first to go on my kids clothing. Here is the tutorial.
Step 1:
Cut out your pattern pieces as normal. Cut out an additional piece for your front leg (one layer for each leg front) that is the same width of as the leg and is your desired height. Mine is for a size 5T and is about 8 inches tall. You can choose where you want it to be placed, but I started mine around the lengthen shorten line for the bottom so that it would hit around the knee.

Step 2:
Using a marking device that will wash out such as chalk, make horizontal lines parallel with the hem of the pants. The markings below are 1 inch apart, but I ended up adding another line inbetween to make each line 1/2" apart. It's up to you.

Step 3:
Stitch these lines through the one layer of fabric using a stitch that will stretch, not a normal straight stitch, otherwise the stitches may pop when your child bends their knee. I used the stretch stitch on my machine, but I think that a zigzag out look really cool too. The thicker the stitch the more visible the design will be.

Step 4:
Place this piece of fabric with the stitching on top of your front leg piece so that the sides line up correctly. Turn the top and bottom under by 1/4". Press and pin in place.

Step 5:
Using a stretch stitch, sew along the folded edge at 1/8".


Step 6: Once you repeat for the other leg then sew up your
mini hudson pants like normal according to the instructions and you are done!


 I thought I would share a little mini hudson pant variation tutorial with you guys today in preparation for the blog hop coming next week. These pants were inspired by a pair that I saw from Gapkids that I also included in my ready to wear inspiration post last week. It's really easy to do and not only does it add a little extra style to the pants, but it also reinforces the knee area which is always the first to go on my kids clothing. Here is the tutorial.


 Step 6: Once you repeat for the other leg then sew up your mini hudson pants like normal according to the instructions and you are done!


