Today on the blog I am going to show you one of my most frequently requested tutorials - how to add a dart to a dartless Ogden (sizes 0-18). It is a simple process and I am excited to show you step by step how to achieve this for your self.
The 0-18 size range of the Ogden is drafted for a sewing size C cup. This is not the the same as a ready to wear size. In sewing, a 3 inch difference between your upper and full bust equals a C cup. A 4 inch difference is referred to as a sewing D cup and so on. So to start, you want to take your full bust and upper bust measurements.

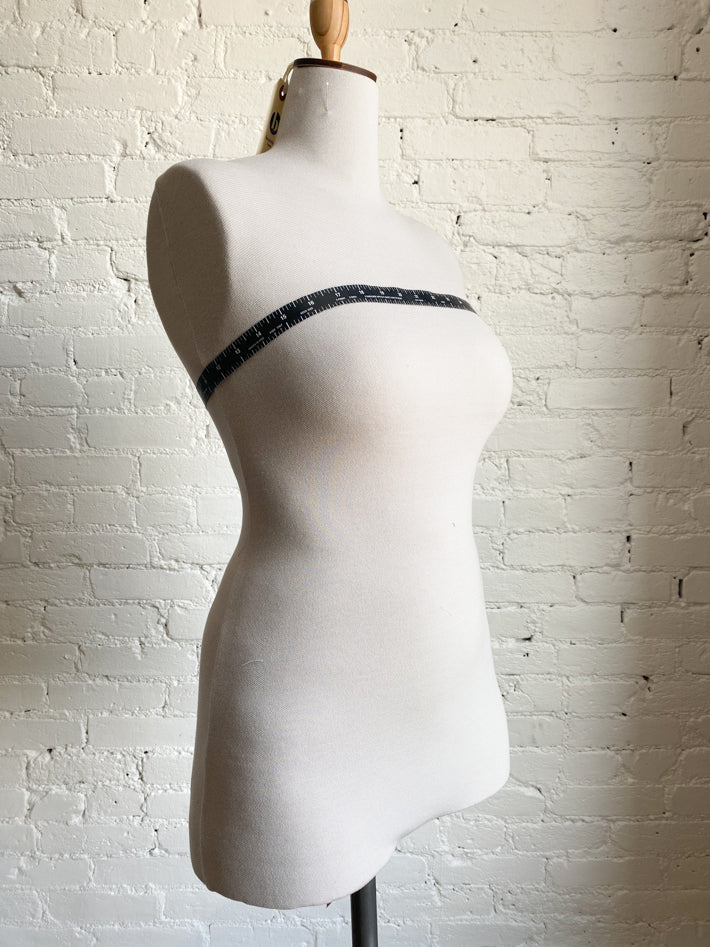
For the purposes of this tutorial, there is a 4 inch difference in my full and upper bust. Since the 0-18 Ogden is drafted for a C cup or 3 inch difference, I will choose a size that is 1 inch smaller than my full measurement. I will then want to add a dart that will add an inch to the front Ogden pattern piece to make up the difference.
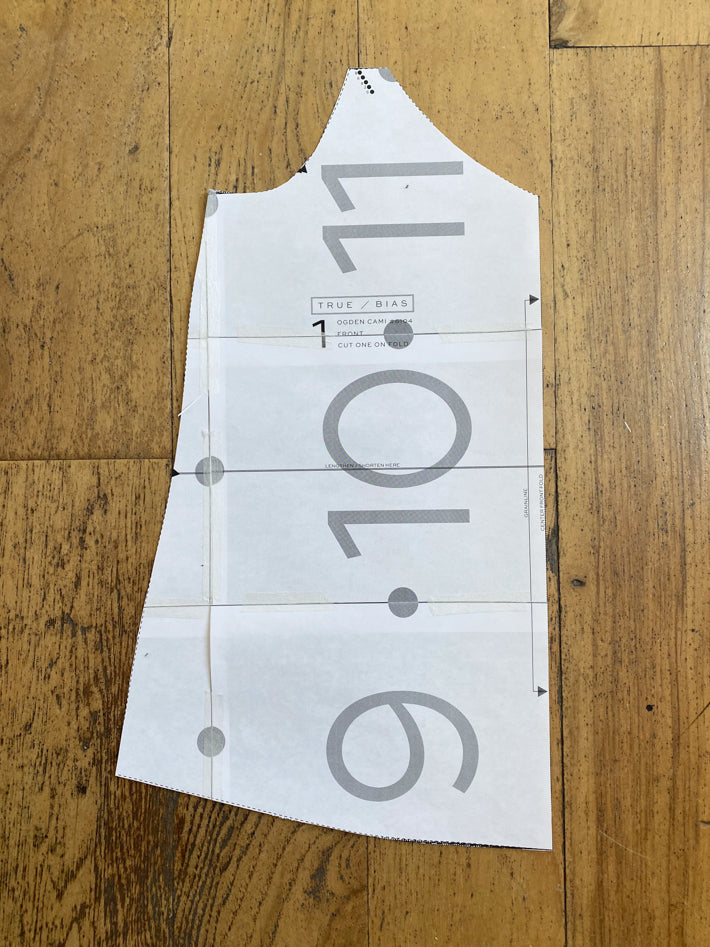
You are going to need your front Ogden pattern piece, a ruler, pencil, markers, scissors, tape, and extra paper.
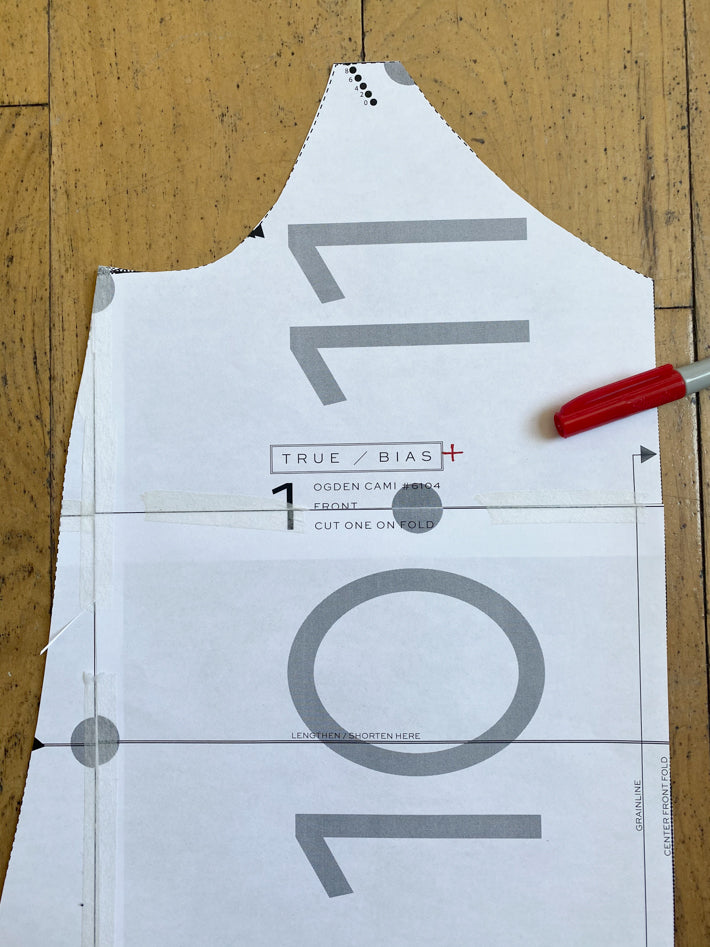
Start by locating your bust apex. This is different on everyone. The easiest way is to hold it up to your body and approximate the location. You may move it up or down after sewing up a muslin, but make you best guess. Mark it will a cross.
Now draw the following 3 lines.
1 - From the apex to the hem. Make sure it is parallel to the CF.
2 - From the apex to the side seam.
3 - From the apex to the armhole notch.

Cut from the hem along line one. Continue to cut line 3, leaving it barely attached at the notch. Cut again from the side seam along line 2, leaving it barely attached at the apex.

Take another separate piece of paper and draw two parallel lines. The distance between them should be the amount you want to add to the front, divided by two. Since I want to add 1" of volume to the front, I am going to draw the two lines 1/2" apart.

Use these lines to separate line 1. Tape in place.


Notice that the hem becomes uneven. That is OK. As a bust gets larger, it needs extra length in the front. Redraw the hem so it is even.

Trim off excess. This becomes your new hemline.

Now to finish the dart. Measure the opening created from line two. This is your dart opening measurement. Mark the middle.

Draw a new line connecting the middle marking to your apex. This is going to be the top leg of your dart.

Measure out 1 1/2" from the apex along this line and make a mark. This will be the end of your dart.

Along the side seam, measure down from this top dart leg, the amount of your dart opening and make another mark.

Draw your bottom dart leg from this marking to end of your dart marking (1 1/2" out from the apex).

I went over the final dart legs in green to make them easier to see.

Take your bottom dart leg and fold it up to the top dart leg. This can feel a bit awkward in paper but you can do it.


I like to put a pin in it to keep it closed.

To even out the side seam, you are going to take a rule and redraw that side seam to be smooth. Cut along the line.


Open up the dart to see the new dart shape.

That is it! Do the same adjustment to the front lining pattern piece as well so they match.
I hope that was helpful!
