Welcome to Day 3 of the Emerson Sewalong. I am excited to simply finish up the waistband and hem today. It won't take long. Let's get started.
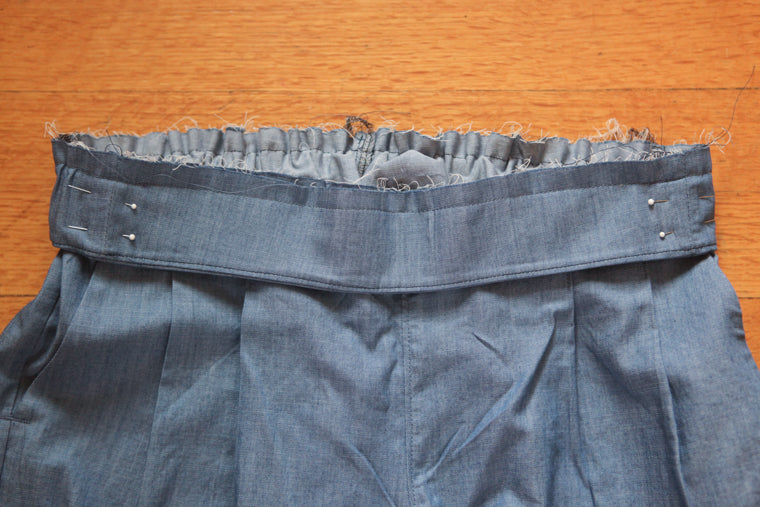
Step 16 - Keeping the waistband folded, pin the bottom of the waistband to the top edge of the shorts / pants with the right side of the outer waistband touching the right side of the shorts / pants. Match notches. Keep in mind that the front of the waistband is the one with the interfacing attached to it.
Step 17 - Starting at one large dot, stitch around the back of the shorts / pants until you reach the second dot. Leave the front part of the waistband unattached. Back stitch at both ends to secure.
Step 18 - Attach a safety pin to one side of your elastic (cut to specified length). Insert into the waistband at one dot, through the back part of the waistband, and out at the other dot. Be careful not to let the back end of the elastic slip into the waistband where you can’t access it. (I know this too well from experience.)
Step 19 - Adjust your elastic so that it starts and ends at each dot within the waistband. Pin securely in place.
(Tip - This is a good time to try on your shorts / pants and see if you need to adjust the length of your elastic. After the next step it will be a huge pain to do so.)
Step 20 - Finish stitching the front section of the waistband to the shorts / pants, leaving in the pins that are holding the elastic in place.
Step 21 - Press the seam allowance down and away from the waistband to keep it out of the way. On the front of the waistband, stitch in the ditch through all layers where the back and front waistbands meet, catching the elastic inside of the waistband so that it’s secure. Backstitch a few times to make sure it is secure. If you do it carefully, you will not even be able to see the stitching as it will hide in the seam.

Finish the seam allowance of your waistband in your desired manner and press down.
Edgestich just below the waistband to keep the seam allowance down and flat. This is an optional step but it helps to keep things tidy on the inside of the garment.

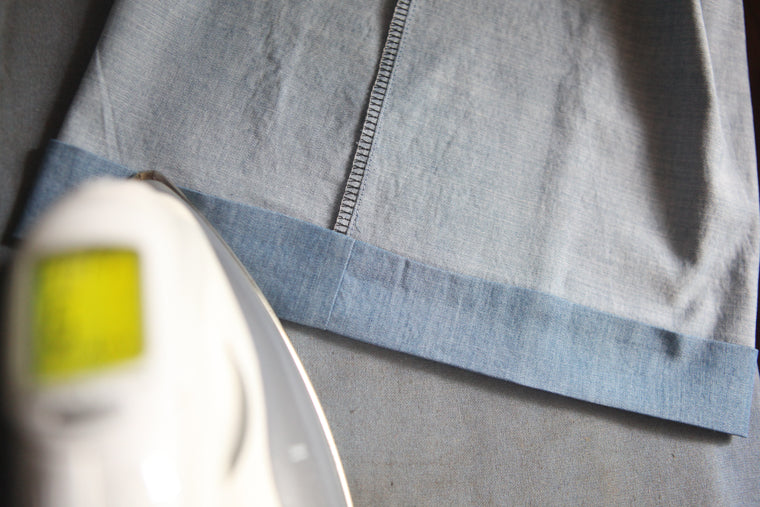
Step 22 - Hem the shorts / pants by folding the bottom up (wrong sides touching) by 1/4” and pressing.

Fold up again by 1“ for the shorts or 2” for the pants. Press and pin.
Edgestitch along the fold to finish the hem.
All done! I will post pictures of me wearing my Emersons once I can get some photos. Please tag your photos #emersoncroppants or #emersonshorts if you make and post them as I would love to see your versions.


