Welcome to day one of the Emerson short and pant sewalong. I am going to be sewing up one pair of crop pants in this great lightweight denim, and a pair of the shorts in some navy striped linen that I am really excited about .

All of the directions are the same for both except for the hem width so I will be jumping back and forth between the two depending on which one shows better in pictures. We will do the whole sewalong in three days. It's an easy sew, so it will go quick. I won't be going over printing your pattern or assembling / cutting it out, so go ahead and do that first and come back when you are ready to get sewing.

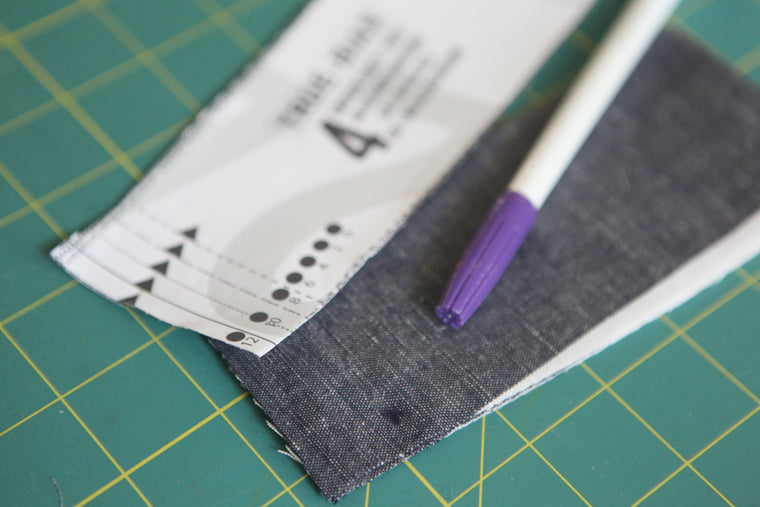
Step 1 - Before starting, make sure that you have transferred all notches and symbols from your pattern pieces to your fabric. I used a few different techniques this time around, but use whatever is easiest for you. I like to just snip the notches. Just be sure to make a small snip (about 1/4") so that it stays within the 1/2" seam allowance.

I use a disappearing fabric pen for the dots and then my chacco pen (my favorite!) for the pleat lines. The pleat lines are about 2 1/4" long for reference and make sure that you mark them on the right side of the fabric.

Next, fuse your interfacing to the wrong side of one front waistband and the edge of each pocket piece.
Step 2 - Take one front shorts / pants piece and pull the pleat line closest to center front towards the next line, in the direction of the side seam (with the right side of your fabric facing up). Repeat for second pleat. Pin in place and press. I like to place a pin at the end of the pleat line so that when I am stitching the pleat in the next step, I have an easy visual of where to stop.

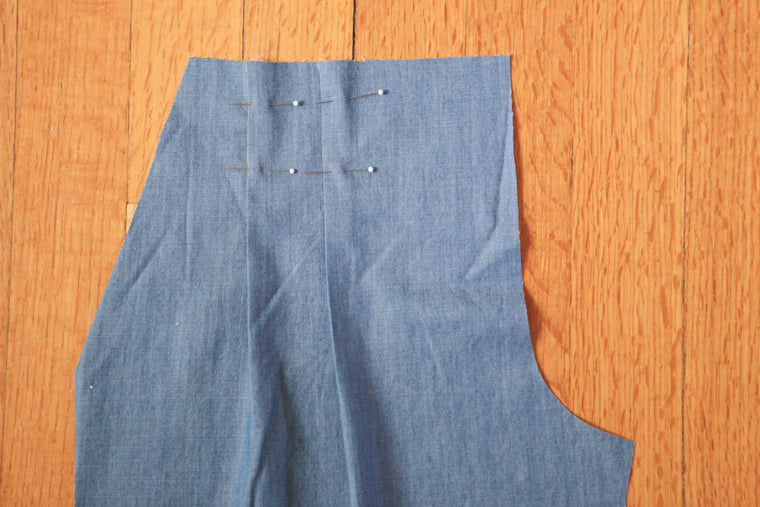
Step 3 - Edgestitch along the fold of each pleat for the length indicated on the pattern and backstitch at the end. Repeat steps 2 and 3 for other front shorts / pants pattern piece.


Step 4 - With right sides touching, pin the unnotched side of one pocket (the edge with the interfacing) to the coordinating pocket area of the front short / pant.

Stitch at your normal 1/2" seam allowance.
Trim seam allowance to about 1/4” to reduce bulk.

Step 5 - Press the whole pocket piece over the seam allowance and away from center front.

Understitch by stitching through the seam allowance and pocket, close to the seam edge. This will help the pocket to stay on the inside of the shorts and not peak out.

Step 6 - With right sides touching, fold the pocket in half along the two middle notches. Pin.

Keeping the front shorts / pants out of the way, stitch the bottom of the pocket together. Finish seam allowance in your desired manner. I chose to simply serge the seam allowance, but you could also zigzag stitch or use pinking shears to finish it.
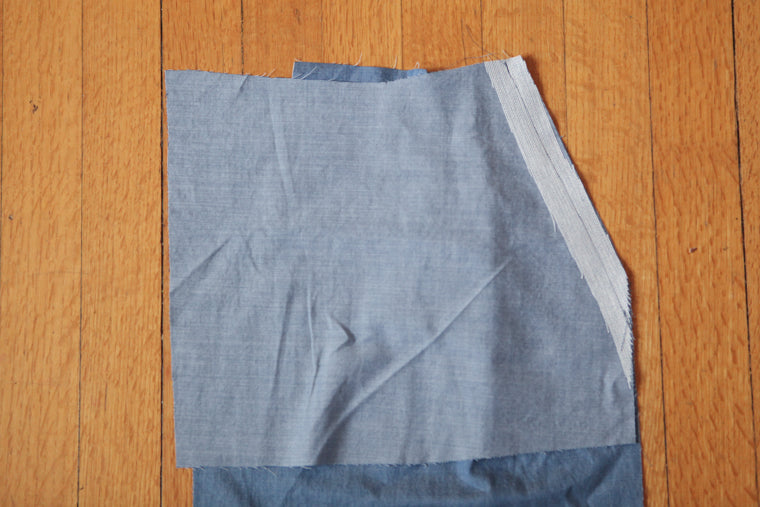
Step 7 - Flip the whole pocket towards the inside of the front shorts / pants and press the fold of the pocket flat. Line up along the top and sides and pin.

Baste along the top and sides at 3/8” seam allowance to keep the pocket in place for future steps.
Repeat steps 4 through 8 for the other pocket and front shorts / pants.
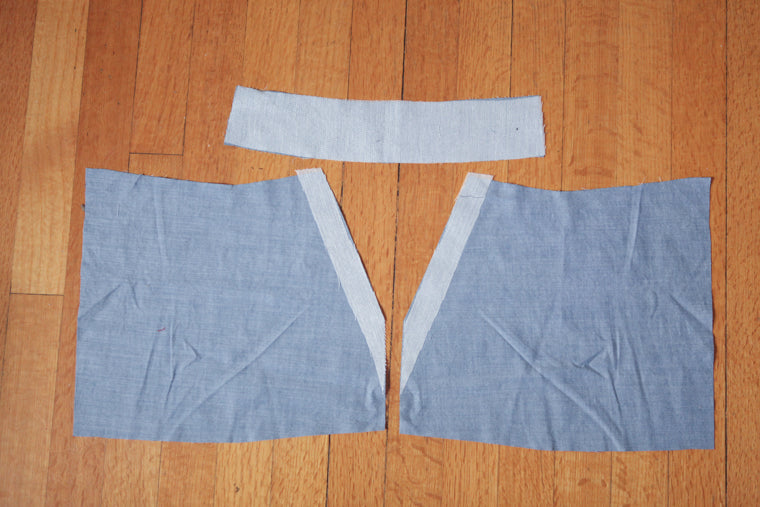
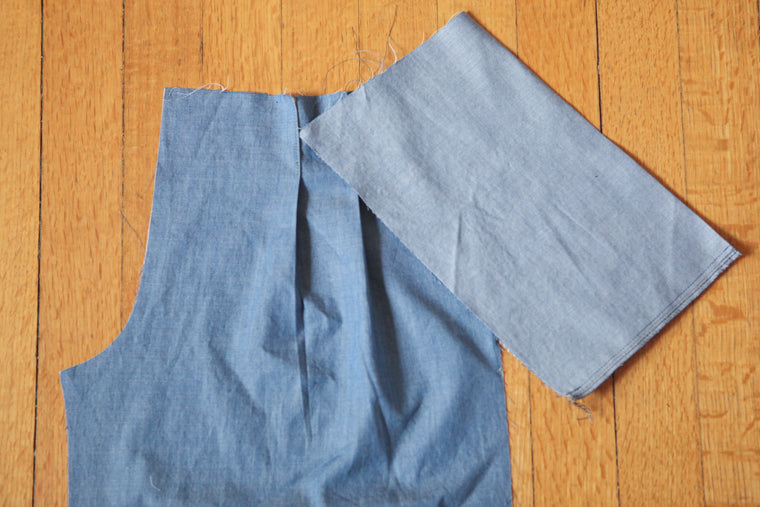
Your pants and shorts should look like this now.

That is it for today. Let me know if you have any questions. If you want to get the pattern you can purchase it here.