Welcome to day 1 of the Calvin wrap top and dress sewalong. Today is mostly prep. We will do some markings, but mostly create our bias binding. These steps are super easy, but a little time consuming so I like to do them at the beginning to get them out of the way.
Please note that the following instructions depict View A (top), but all instructions are applicable to all views.
Step 1 - Before starting, make sure you have transferred all notches and symbols from your pattern pieces to your fabric. I like to make a small (about 1/4" long) snip for any notches.

I also use my chalk or disappearing marker to mark any stitch lines such as the dart legs or the thread loop and buttonhole.


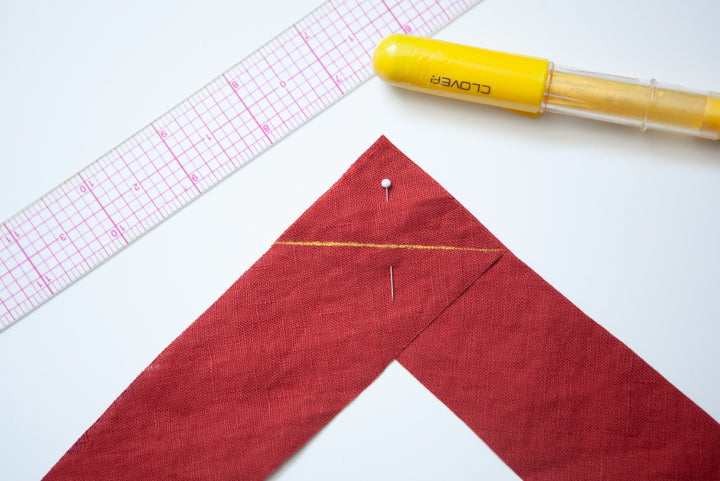
Step 2 - Take two of the four of your long bias strips (pattern piece 5) and place the ends one on top of the other, right sides touching, at a 90 degree angle. Pin.

Stitch from one side to the other as shown below.
You may find it helpful to draw a line first to make this stitching easier. I like to use my chacco wheel and then stitch on top of it.
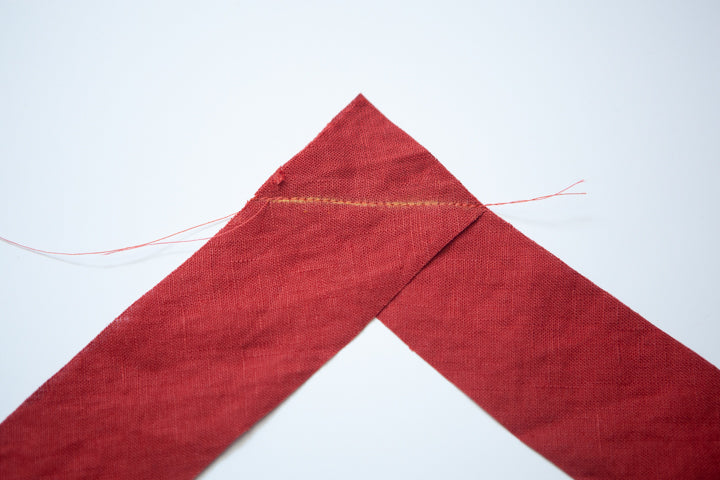
Trim seam allowances to 1/8" and press open.


Trim off any small bits of seam allowance that are not flush with the long sides of the bias strip.

Repeat all of Step 2 for the remaining two long bias pieces (pattern piece 5). In the end you will have two long strips. One for the right side and one for the left.

Step 3 - Prepare each strip of bias tape (patter pieces 3, 4, and 5) in the following ways.
If you want to use a bias tape maker, the 25mm double fold bias tape maker is your best bet.

Personally I think you get a better result and have more control if you do it by hand so that is what I will be showing you. I do recommend using spray starch when pressing because it adds some stability to the bias binding that will wash away later.
Fold bias binding in half lengthwise, wrong sides touching, and press.

Open the bias binding up and fold the outside edges toward the center fold you just created. Press again.

Fold the bias binding in half again along the original fold and press.

And that is it for today. Put on a show and make all of your bias binding. You will be so happy that you did this now so the rest of your dress or top can be sewn together without interruption.
