It's day 3 of the Calvin Sewalong. Today we are going to apply more bias binding and assemble the body of the top or dress.
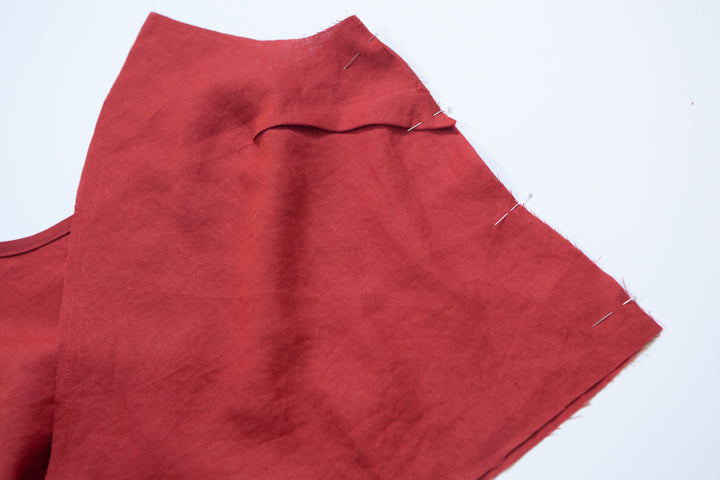
Step 9 - With right sides touching, pin the assembled back to the front sections at the sides.

Stitch together at a normal 1/2" seam allowance.

Finish the side seam allowances together with either a zigzag stitch or by serging. Do NOT trim. (The seam allowances will be used to stabilize the buttonhole and thread chain in later steps.)

Press the seam allowances toward the back

Step 10 - Apply the center front and tie bias binding (pattern piece 5) along the center front wrap edge in the same manner as the back. The top edge should be flush with the garment and the rest will extend pas the wrap opening to create the tie.
First pin along center front with the wrong side of the garment facing up.

Stitch to the center front using the first fold as a guide.

If you are going to grade the seams do so now.

Flip the garment over so that the right side is facing up. Pin the bias binding over the raw edge so that it covers the stitch line.

Edgestitch along the bias binding binding to secure. For the bias binding section that extends past the front edge, simply continue to sew the edges together to form the tie. Do not finish the end of the tie yet; you will do that at the end after you try it on.


Repeat for other front.

Step 11 - Apply the armhole strap bias binding (pattern piece 4) along the armhole edges in the same manner as the front and back. To form the straps, let 1 1/4" of the binding extend past the back armhole edge, with the rest extending past the front armhole edge.


For the bias binding section that extends past the armhole edges, simply continue to sew the edges together to form the straps.


That is all for today. Excited to keep sewing tomorrow.

