Last week I talked on instagram stories about my stash and my unsuccessful attempt at organizing it. For years I have been folding and storing all of my stash fabric (which I embarassingly have way too much of) in bins tucked under my cutting table. The problem is that although it was nice and safe in there, I never remembered what I had so I would buy more and more. I also couldn't easily locate fabric when I needed it. Enough was enough so I decided to take everything out of my bins, organize it, donate the fabric I was never going to sew, (I was able to donate it to my local library for their creative space) and get all of the stash fabric organized onto shelves. I started using the rolling method because I had heard it was easier to see your fabric, but as I kept going I realized it was way too messy for my liking.

They I shared it on instagram and a bunch of you replied that you used the comic board method. I had never heard of this method before so I went to youtube where I found this great instructional video from Sew Sweetness. I was immediately hooked and decided to change my methods. The only issue I anticipated was that all of the tutorials I found were geared towards quilting and therefore 44 inch wide stable cotton fabrics. Most of my stash consists of 54-60 inch wide apparel fabrics. Some of them are super thick, others are slippery, and most are in 2-5 yard cuts. So I wanted bigger boards right off the bat.
Instead of the smaller comic book boards, I went with these 8.5 x 11 inch magazine boards. This little bit of extra size gives just enough extra room to help with my wider fabric. They also happened to fit the height of my Ikea shelves better. This is definitely something I would consider when choosing the size of the boards you use. Magazine boards are kinda like a thick cardstock, pretty inexpensive, and most importantly are acid free. This is something I would highly recommend thinking about because you do not want the cardboard you are using to damage your fabric if it stays on there for a long time.

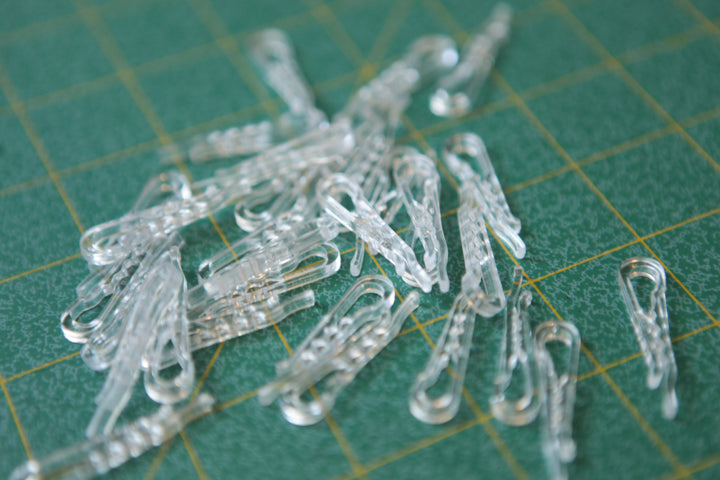
I also ordered clear plastic alligator clips which come in a big package and are pretty cheap. I recently found these bigger ones (2 inch)for the thicker fabrics which are a game changer. I know a lot of shops also use T pins which are a great option if you are not worried about rust or the pin damaging your fabric. I decided to stick with the clear plastic ones to protect the fabric.

Now that you know what I am using, here is the step by step of how I folded my fabric. Keep in mind that I am no perfectionist when it comes to folding these. I always wash and dry my fabric right after buying it so I am left with some wrinkly fabric and frayed ends. This doesn't bother me at all. You could certainly go the extra mile and iron your fabric before folding but personally I think this makes the whole process too long and more of a hassle. That's just me though.
For this demo I am using 2 yards of denim that is 60 inches wide. For each cut of fabric you need one board and two alligator clips.

Start by folding your fabric lengthwise with selvages touching. I choose to have the right side of the fabric out so that it's easier to see the fabric for what it is on the shelf, but that is up to you.

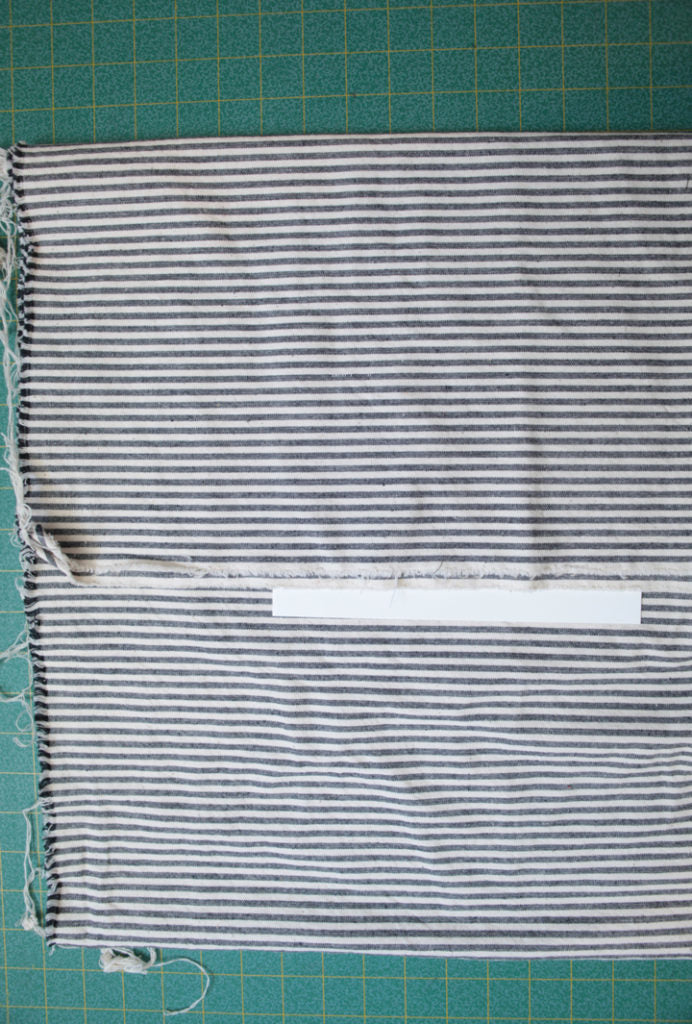
Take your magazine board and place it in the middle of the fabric between the selvages and the fold and about 5 inches in from the cut edge.

Fold down the top selvage edges over the magazine board. Make sure to continue the fold all of the way down the length of the fabric (2 yards in my case). This can get a little tricky if you have more yardage. On my rayons when I had 4 yards I folded the whole thing in half widthwise so it was like I was dealing with 2 yards wide.

Fold up the bottom folded edge over the magazine board. Make sure to continue the fold all of the way down the length of the fabric (2 yards in my case).

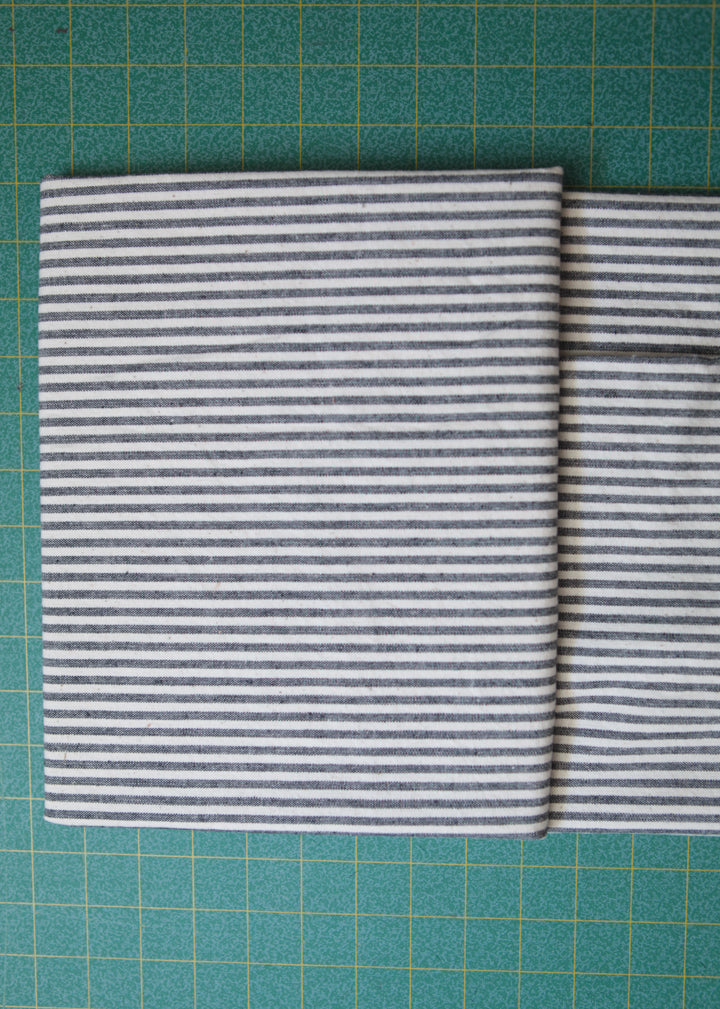
Fold in the 5 inches to the left of the magazine board.

Flip the magazine board with the fabric over and over until you get close to the end of your yardage. Keep it nice and tight.


Fold in the cut edges at the end of your yardage so that they are not hanging out.

Now fold this last fold in so that everything is nice and neat.

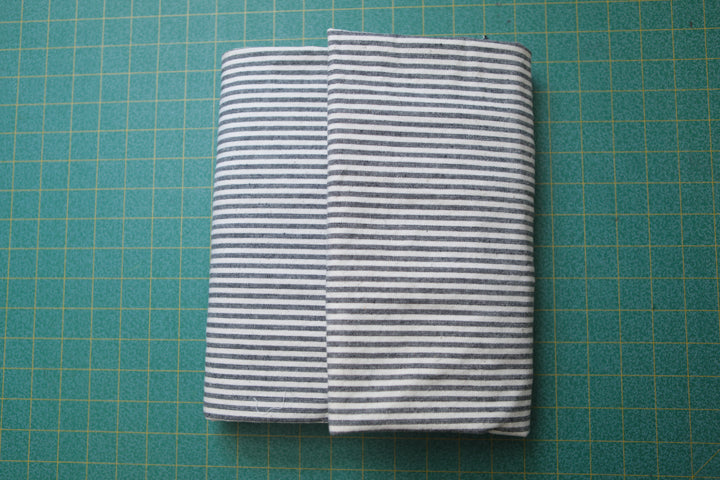
Take your alligator clips and slide them into the second two layers of fabric up against the last fold you made. This will hold your fabric tight on the roll without having to expand the small alligator clip too much.


That is it! I am so excited about how nice and neat it looks.

They stack perfectly on my shelf and keep it looking tidy, while still allowing me to see all of my fabric. I love it so much.

Folding all of my stash only took a few hours, was pretty cheap and was weirdly relaxing. I am hooked. It is how I plan to organize my fabric stash from here on out. I hope this was helpful for you as well.
Some of the links above are affiliate links which means that at no additional cost to you, I receive a commission if you click through and make a purchase. All opinions are honest and my own.

