Update: A full video sewalong for the Ogden can now be found on YouTube. Click here to check it out.
Welcome back to day 2 of the Ogden Sewalong. Like I said yesterday, this is a quick sew, so we will finish up the Ogden Cami today and start on the Emerson shorts and pants tomorrow. Let's get going. Step 8 - Make a small snip close to, but not through the point of the V at center front and center back. Make a few more snips around the curves of the armholes and neckline to help them turn easily. 
 Step 9 - Being careful not to cross or twist them, bring the open end of each strap under the armhole and around to the backside of the cami. It will be between the cami and the lining the whole time. I realize this feels a little like origami but give it a try a couple of times and it will make sense.
  Push them up between the back lining and back cami, where you have left the unstitched spaces. Line the raw edge of each strap up with the raw edge of the seam allowance at each back dot. Pin in place.
 Step 10 - Finish sewing the area around the dots that you previously left unstitched, while sewing the ends of the straps you just inserted. (Tip - You may want to baste first to make sure that your straps are the right length and adjust accordingly before stitching and trimming.)
  Trim the seam allowances around all four large dots and the rest of the neckline and armholes to reduce bulk.
 Step 11 - Turn your cami right side out, pulling gently on the straps to help turn the top corners.
  Press the seam allowance and lining gently away from the cami.
  On the right side of your lining, understitch by stitching the seam allowance to the lining close to the seam. (Pressing and stitching will not be possible all of the way into the strap areas. Don’t worry about the areas that are hard to reach.) Understitching will help the lining stay on the inside of the cami and not poke out of the neckline. I know you may be tempted to skip it, but I promise you will feel better if you don't.
  Step 12 - Hem the bottom of your cami by folding the raw edge up, wrong sides touching, by 1/4” and pressing.
  Fold up again at 1/4” towards the wrong side and press again.
  Pin. Edgestitch along the inside fold to finish the hem.
  Step 13 - Give your straps, neckline, and armholes a good press so that they are crisp.
  Turn your cami inside out. Making sure that the lining is nice and flat, pin the bottom hem of the lining to the cami seam allowance at each side seam.
  You can either hand tack the hem of the lining to the seam allowance of the cami with a few stitches, or if you can do what I did here and stitch in the ditch of the side seam to catch the lining. Either way, this will keep the lining down and lined up with wear and washing.
 Step 14 - Turn your cami right side out. Give it a final press and it’s finished! (Tip - I highly recommend sewing a label or piece of ribbon at the back neckline to differentiate it from the front.)
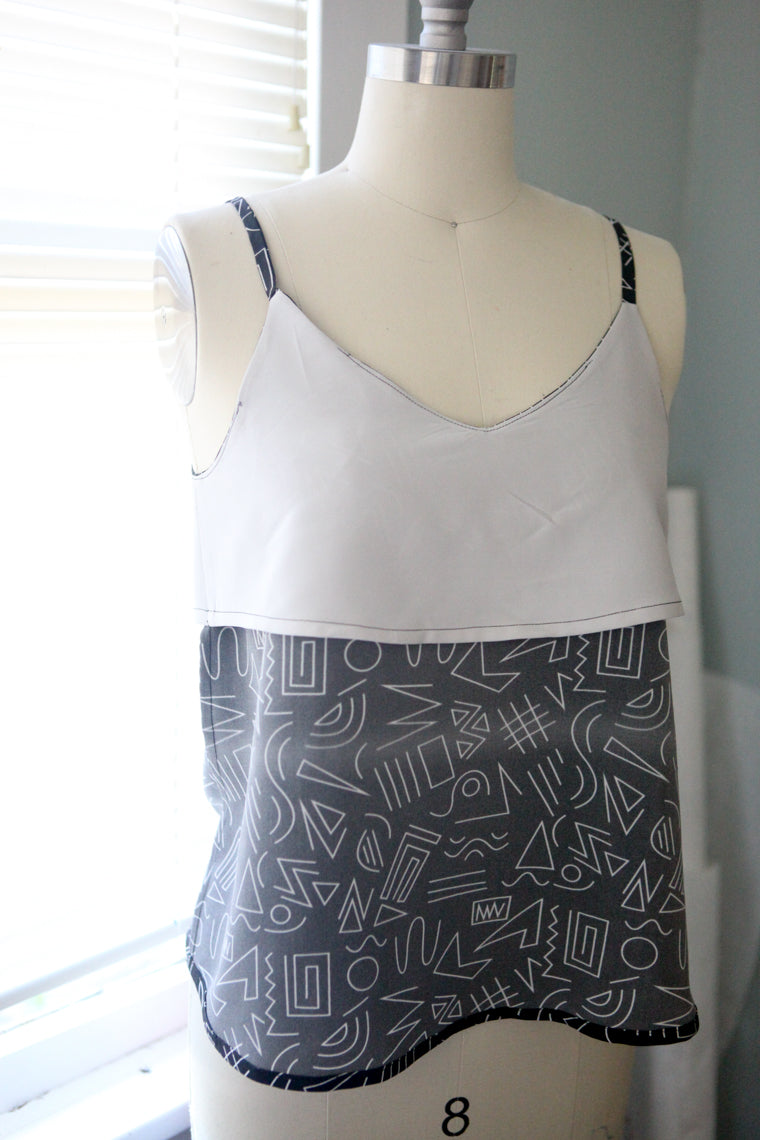
 That's it for the Ogden cami! Pretty painless right? Tomorrow I will be back with the Emerson pants and shorts sewalong.