
Welcome to day 1 of the Shelby dress and romper Sewalong. If you still need the pattern you can purchase it here.
Please note that the following instructions depict View A which is the mini length dress, but unless noted all of the instructions are applicable to all views.
Step 1 - Before starting, make sure that you have transferred all notches and symbols from your pattern pieces to your fabric.

I like to make a small (3/8" or less) clip into the seam allowance for all triangle notch symbols and then I use a disappearing marker for all dots.
Also be sure to fuse your interfacing to the wrong side of the front neck facings and the back neck facing. Make sure you are not stretching your fabric at all when applying the fusible.

Step 2 - Staystitch the neckline on the front center and back center pieces at 3/8" seam allowance in the directions of higher to lower. (Note that the back is in two pieces for views C and D not one as shown here.) I know you may be tempted to skip this step but please do not. The front neck especially will want to grow in future steps since it is cut on a bias. If you do not staystich it will not match the facing when it comes time to sew them together.


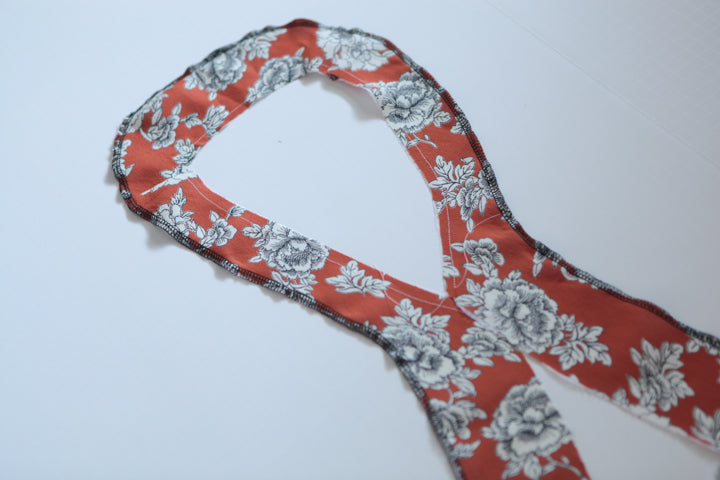
Step 3 - With right sides touching, and matching notches, pin and sew the shoulder seams of the front and back neck facings. Finish the seam allowances in your desired manner and press open or towards the front. I will be finishing my seam allowances by serging them, but you can also choose to zig zag stitch them or use pinking shears.

Step 4 - Finish the outer edge of your assembled neck facing in your desired manner. You do not need to finish the bottom or inside edges as they will be enveloped in other seams later on. That is it for the facing so go ahead and set it aside for now.

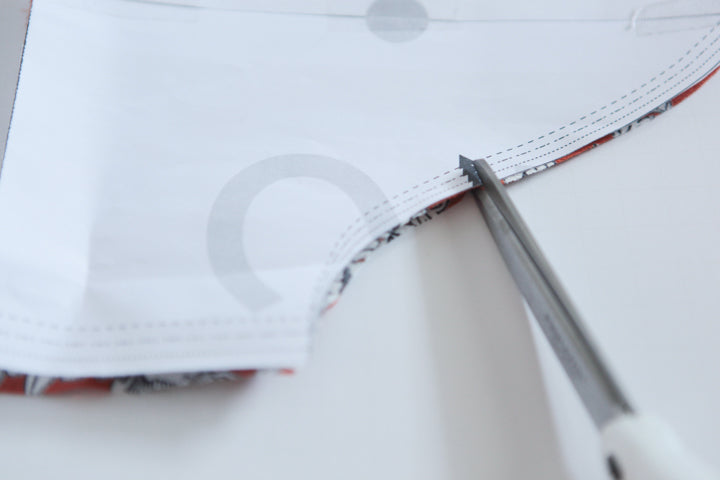
Step 5 - with right sides touching, fold each back tie piece in half lengthwise. Pin and stitch the long edge, using a normal 1/2" seam allowance.

Trim the seam allowance down to 1/4".

Step 6 - Using a loop turner or safety pin, turn ties right side out.

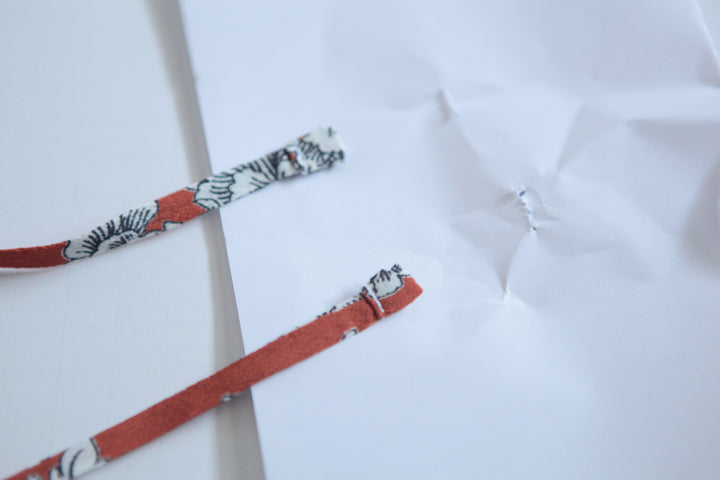
Press them flat. Fold one end under by 1/4" and then again by 3/8".

Stitch along the folded edge to secure the end. I find that if you put a piece of paper under the tie while on your sewing machine, it makes it much easier to sew that very small bit of fabric.

Once you are done stitching it you can pull it off of the paper pretty easily as the sewing machine creates a bit of a perforation on the paper.

Finish the remaining tie in the same manner.

That is it for today. Come back tomorrow to actually start sewing the dress together!