
The Hudson pants sewing pattern was my very first pattern. Since it's release, styles have changed and I often get the request for a high rise alteration. I am super excited to be sharing it with you today. I've made three pairs with this tutorial already and I love them so much.
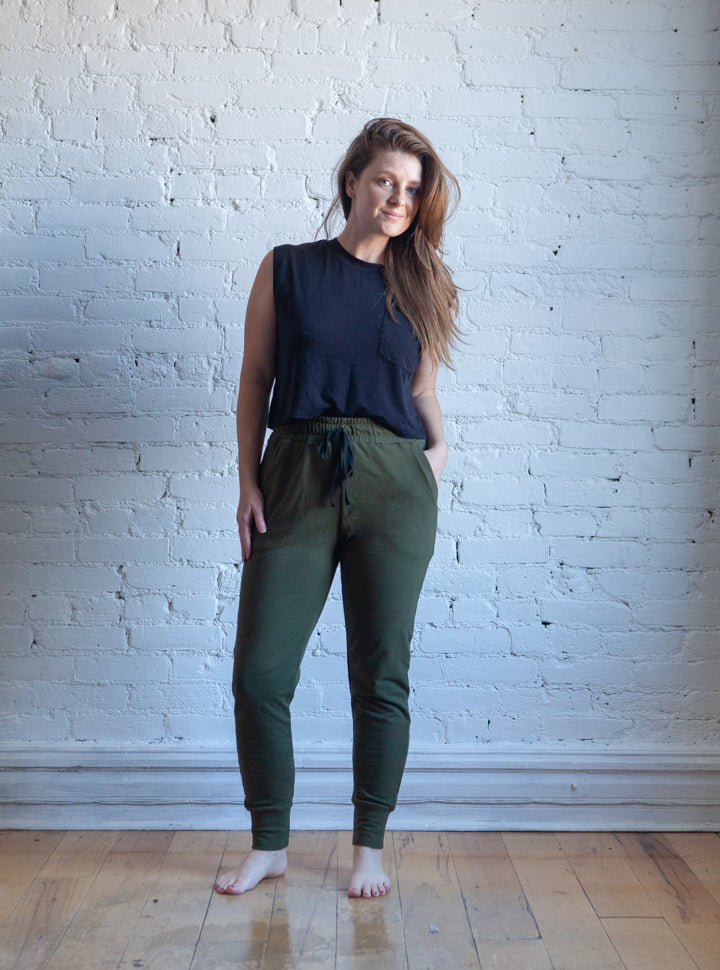
The Hudson pant originally was drafted to sit about 2 inches below the belly button in the front. It then gradually raises up along the sides to meet at the natural waist at center back. So essentially we are going to be raising the front by 2 inches and evening out the sides so that it is at the same level as the back.
First gather your front pattern pieces. This includes pieces 1, 3 and 4 . Stack them on top of one another so they all line up. Grab a piece of paper and put it behind the top of your Hudson pattern pieces.

Draw a 2 inch line up at center front.

Draw a perpindicular line to the left at the top of the 2 inch line.

Continue that line straight to the left until it is over the side seam.

Connect the side seam up to meet the newly drawn waistline.

Measure out the lines at the center front, outside pocket edge, pocket opening edge, and side seam.

Transfer all of these new cut lines to pattern pieces 1, 3 and 4. They should look something like this once you have attached them all to paper.

Line them all up on top of one another to double check them and transfer the notch up to the new waistline. Mark on all three pattern pieces so they line up.

Now we are going to adjust the pocket opening. We added 1.5" to the pocket opening. We are going to add back in 1" at the bottom just to keep it looking balanced. We will not take off any of the extra length of the pocket bag though. This hack gives you a really nice deep pocket bag which I love.
Start with pattern piece 4. Tape it to a piece of paper and measure up by 1" at the bottom of the pocket opening.

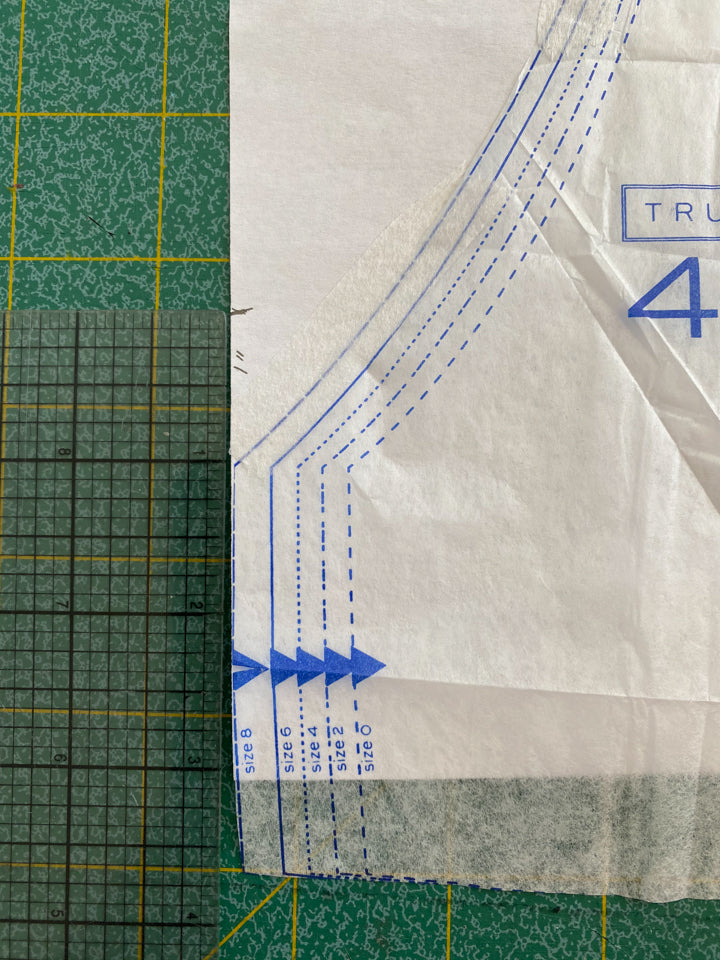
Gradually draw the pocket opening line to rejoin the original line like this.

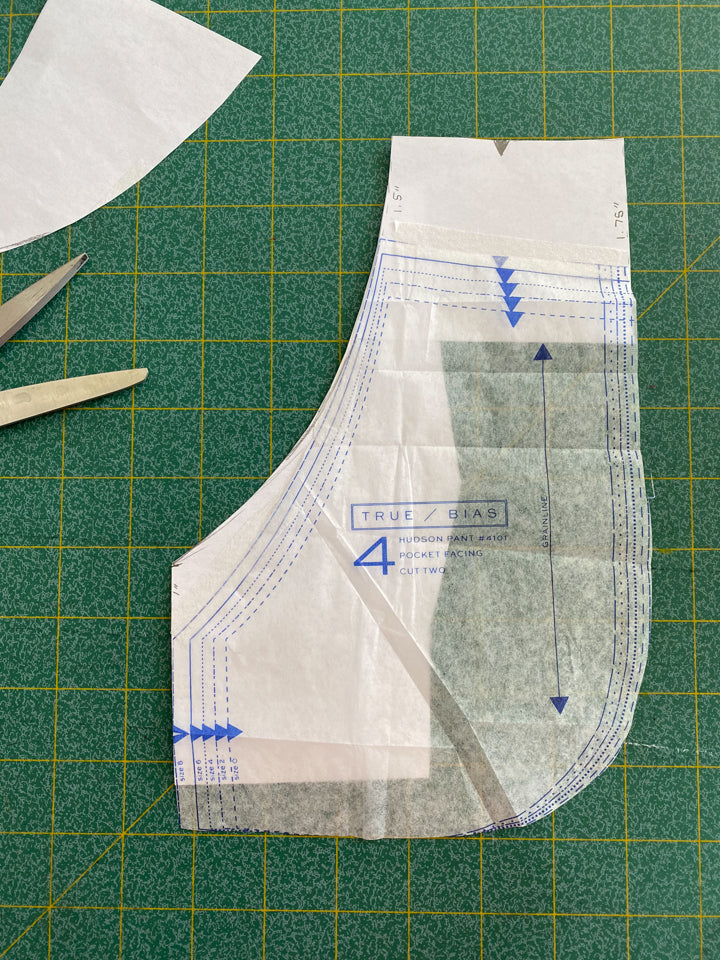
Transfer this new cut line to pattern piece 1.

Line them up to make sure they match.
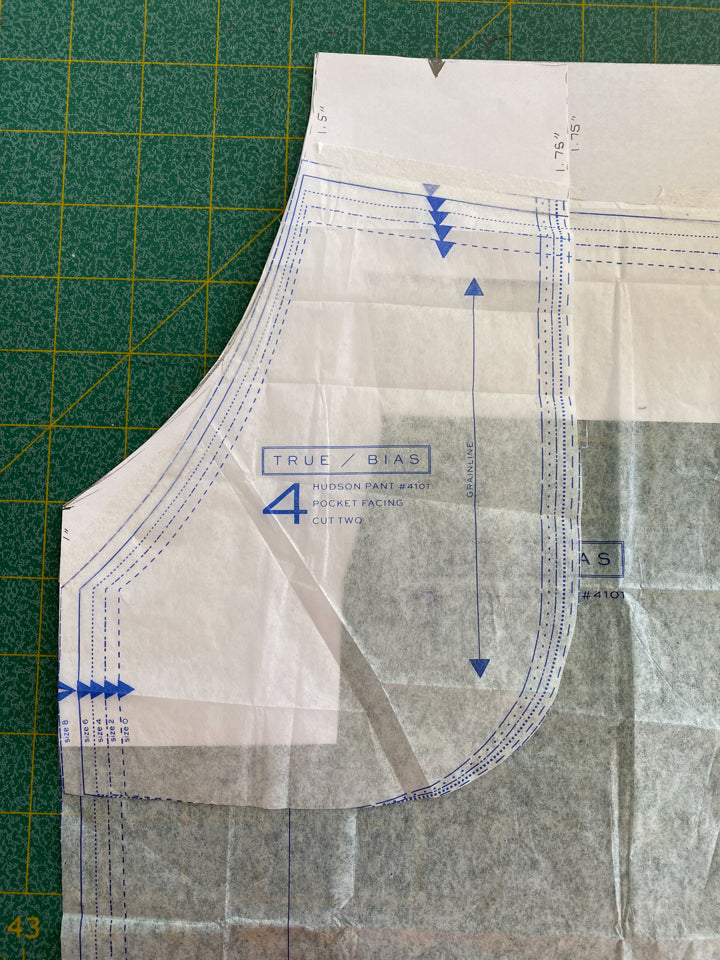
You are also going to need to lengthen the pocket detail pattern piece by just .25".

Now for the back. You are going to raise the side seam by the same measurement as the front side seam. For me it was 1".
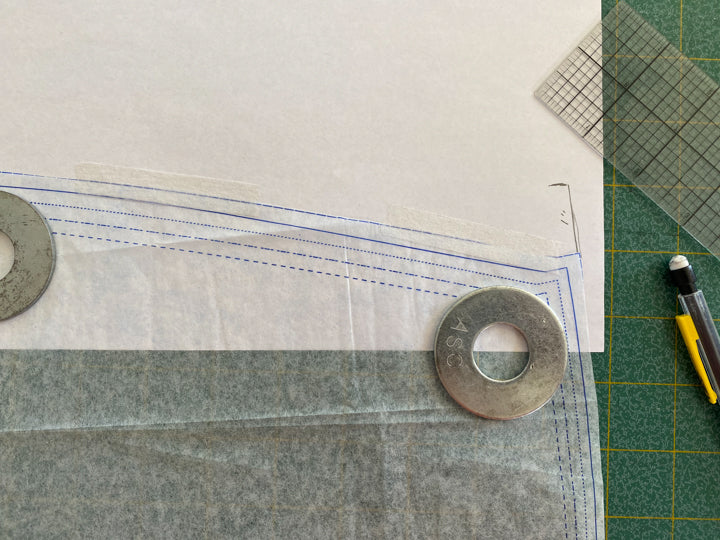
Draw a line from the top of this line to the center back.


Trim the back pattern piece and you are done.
You sew up the Hudsons using the same instructions as the original pattern.

I hope this was helpful! I love my new high rise Hudsons so much. If you need to buy the pattern you can purchase it in my shop here.

