It's here, the last day of the sewalong! Not a lot to do today, just buttons and hems.
The first few steps are for hemming the dress versions, if you are sewing up the romper, skip ahead to step 32.
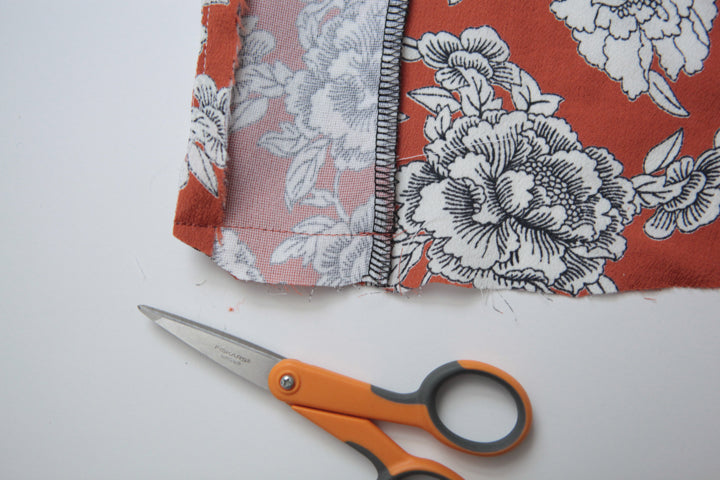
Step 31 - With right sides touching, turn the bottom edge of the facing to the outside along the seam where the facing and dress meet, with lower raw edges even. Pin.

Stitch along bottom edge at a 5/8" seam allowance for the length of the facing. Backstitch at both ends.

Clip corners.
On the inside of the dress, fold the bottom raw edge up by 1/4", wrong sides touching, all the way around, including the area attached to the facing. (You are not folding up the bottom of the facing.) Press.

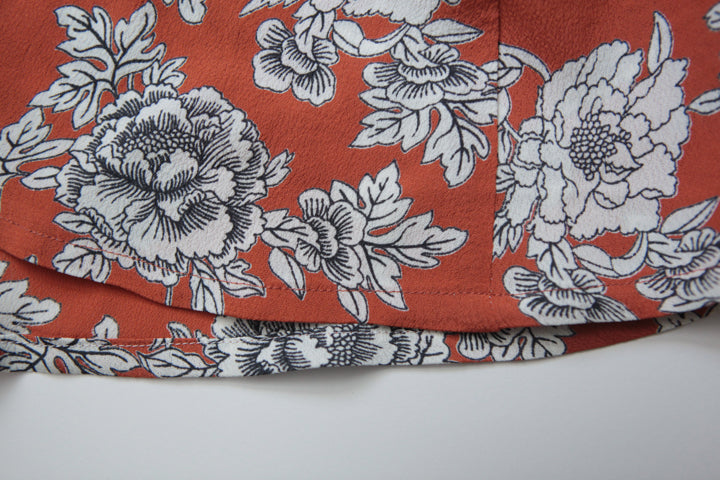
Turn facing right side out, turning out corner into a nice point. This will begin to fold the hem by an additional 3/8".

Pin and press. The folded lower edge of the dress should align with the seam at the lower edge of the facing.

Stitch close to fold to secure hem, starting and stopping at edge of facing. Backstitch.


The next step is for the romper views only. If you sewing the dress, skip ahead to step 33.
Step 32 - Fold the bottom raw edge of each romper leg up by 1/4", wrong sides touching. Press.
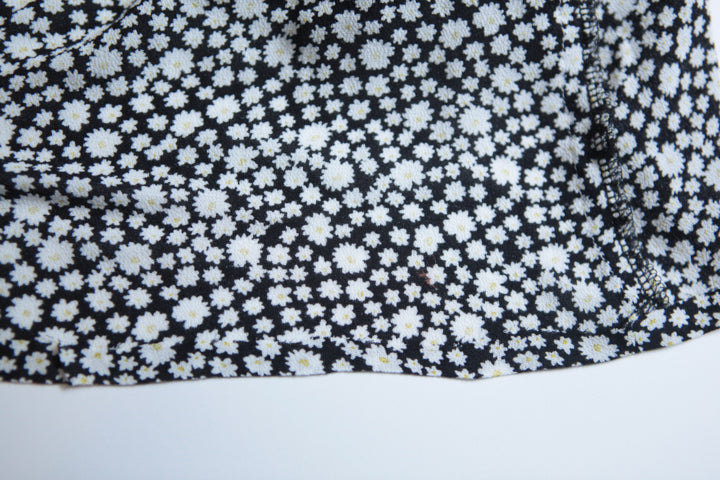
Fold again by 3/8". Continue to fold up the entire hem by 3/8". Press and pin.

Stitch close to the fold to secure.

Step 33 - Using the buttonhole placement guide, mark buttonholes on the right (when wearing) front. Note that Views A and B use seven buttons / buttonholes, while Views C and D only use five. Also keep in mind, if you shortened or lengthened the garment at all you will need to adjust the button placement and may need to add or subtract buttons. Just make sure they are equal distance apart.

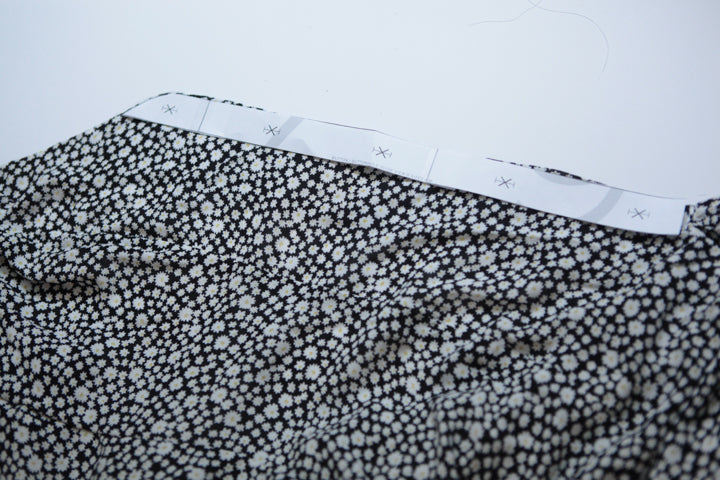
I use a disappearing marker to mark by buttonhole placement.

Stitch buttonholes. I like to add fray check to my buttonholes next and let them dry before opening them.

Open your buttonholes. I use a buttonhole opener but you can use a small pair of scissors too.

Line up the centers of your garment. Mark button placement through open buttonholes on left front.

Sew buttons onto the left front.

Congrats! You are finished. Give the dress or romper a good press and you are good to go.
I hope you have found the Shelby Sewalong helpful. Be sure to tag us with your makes so we can see them!