Welcome back for day 2 of the Shelby Sewalong.
This first step is for the romper views only. If you are sewing up a dress version skip ahead to step 8.
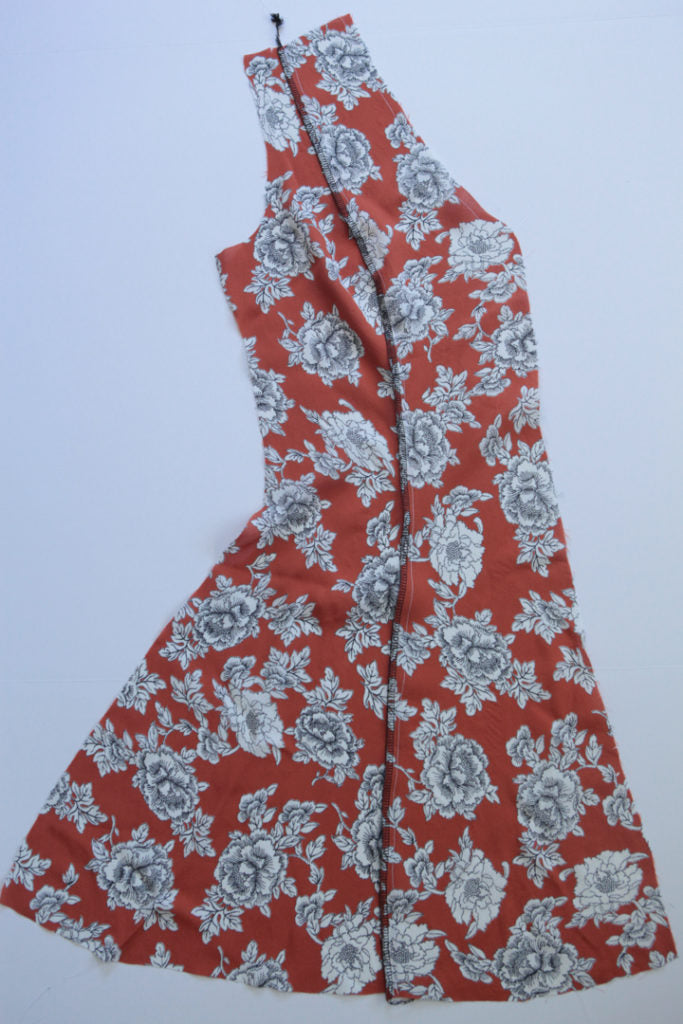
Step 7 - With right sides touching, pin the center back pieces together along the center back. Stitch.


Trim seam allowances to 3/8" and clip along curved areas as needed. Finish the seam allowances in your desired manner. I like to clip first, then serge (trimming it down to 3/8" while serging) Press the seam allowances open or towards one side.


Step 8 - With right sides touching, pin one tie to each side of the center back piece, centering the raw end over the dots so that raw edges match up. Baste in place to secure.

Step 9 - With right sides touching, pin the side back pieces to the center back, matching notches. Stitch.

Clip curved areas of seam allowances, finish in desired manner, and press towards side back.


Set aside assembled back for now. I like to secure the ties in a bow now to keep them from getting caught in future sewing.

Step 10 - Now to assemble the front like you did the back. With right sides touching, pin the side front to the center front, matching notches. Stitch. Clip curved areas of seam allowance as needed. Trim seam allowances to 3/8" and finish i desired manner. Press finished seam allowance towards side front. Assemble both fronts in the same way.

This next step is for the romper views only. If you are sewing up one of the dress you are finished for today. You will skip ahead to step 12 which we will cover tomorrow.
Step 11 - With right sides touching, pin the two assembled front pieces together along the center front crotch. Stitch from the lower edge up to the circle, and backstitch to secure.

Clip diagonally, close to, but not through the circle marking.

Clip along curved areas of seam allowance as needed, trim seam allowances to 3/8", and finish in desired manner. Press finished seam allowance open or towards one side.

That is it for today. Come back tomorrow where we will attach the front to the back and tackle the facing.

