I am super excited to get started today on actually sewing up our
Lander Pants and Shorts. If you havn't done so already, go ahead and cut out all of your pattern pieces from your fabric. Make sure that you also transfer all marking from your pattern pieces to your fabric. There are quite a few ways to do this. Generally I just make a small snip for all notches and use my Chalk pen for everything else. It keeps it simple. The darts should be marked on the wrong side our your fabric, and the back pocket markings should be marked on the right side of your fabric.


OK, let's get going.
Step 1 - Fuse your interfacing to the wrong side of the curved edge of the front pocket pieces, the waistband, and the left fly. Make sure that your fly looks like the diagram in your instructions with the interfacing facing up. Otherwise you might fuse it to the wrong side of the fly and then the left fly will be backwards.

 Step 2
 - Before sewing, make sure that you have the correct needle in your sewing machine. Especially if your fabric is on the heavier side, you are going to want to use a heavy duty or even a jeans sewing machine needle. It will really make a difference when you are sewing through multiple layers of fabric.
Sew the darts on both back pieces and press the excess in towards center back. I really like using a tailor's ham when I press darts because it supports the bulge that you just sewed. You can also use a rolled up towel.


 Step 3
 - Prepare your back pockets by folding the top down by 1/4”, wrong sides touching, and pressing.

Take the pressed edge and fold it again, right sides touching, at the two notches. Pin and press.
 Step 4
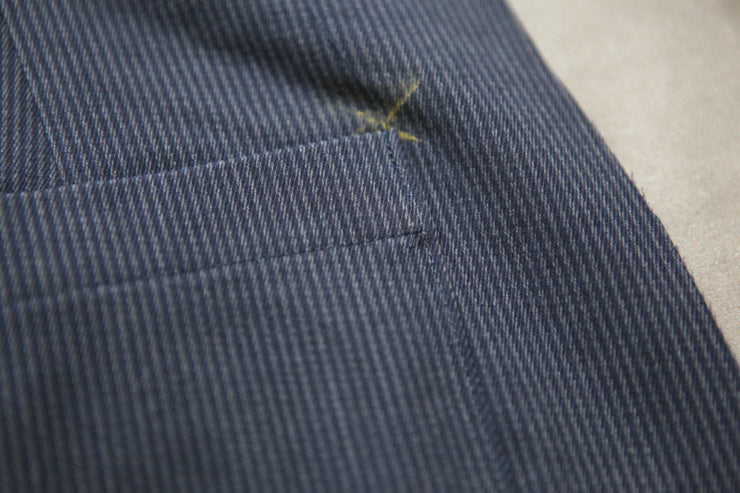
 - Starting at the top folded edge, backstitch and sew down one side of the pocket at 1/2” seam allowance. Once you get to the bottom corner, leave the needle down and pivot to sew along the bottom of the pocket, pivot again and sew up the other side. Backstitch at the end.

I know it is hard to make out in my navy fabric so here is a closeup of the top corner.

Clip the top corners to reduce bulk and flip the folded area right side out.

Once you turn the top, the two sides will begin folding in as well. Press each of the two side edges and bottom in at 1/2”, using the stitch line as a guide.

 Step 5
 - Make sure that the folded section on the top of the pocket is an even width and that each corner has a nice point. Pin and press. Edgestitch 1/8” from the fold.

 Step 6
 - Pin the side and bottom edges of the pockets to the back pant pieces where the markings indicate.

Judge me if you will, but I really like using a gluestick for this step. You can get fabric gluesticks or be like me and steal your kids washable gluestick from their art box. (I am going to edgestitch like the instructions tell you to do here, but I actually recommend that you baste the edges at this time and do the final edgestitching once you can try your pants on to make sure that you like the placement of the pockets). Edgestitch around the sides and bottom at 1/8”, backstitching at the beginning and end. Set your back pant pieces aside for now.


 Step 7
 - Trim about 1/16” off of the curved edge and two straight interior edges of the front pocket lining pieces. This will help the lining to roll to the inside after stitching, making sure it is not visible on the finished garment.
 Step 8
 - With right sides touching, pin the curved edge, and the two straight interior edges of each front pocket to its coordinating pocket lining. Since the lining is a bit smaller, the main pocket will bubble a bit. Don't worry about that.

Stitch. Leave the top and outside edges unstitched. Don’t worry if it’s still pulling a bit at this time. Once turned right side out it will be fine.
 Step 9
 - Trim the stitched seams to reduce bulk. Clip the corner and curved edge so that they turn well.

Turn the pockets right side out and press. The lining should not be visible from the right side.

If you are still having problems with the lining being visible, you can pinch a bit of the lining out using a straight pin and then press. It will leave some extra fabric in the lining, but once it is all stitched down you won't notice at all. It's more important that you don't see the lining on the front of the garment.

Edgestitch the curved edge of each front pocket at 1/4”. Press.
 Step 10
 - Pin the pockets to the fronts, matching notches.

Edgestitch around the two straight edges of the front pockets at 1/8”.

Increase your stitch length and baste the top and side of the pockets to the front pant just to make it easier when assembling the rest of the pant or short.

OK, that's it for today. Lot's of fun progress already. I hope you are loving how they turn out. Comment or email me with questions and tomorrow we will pick up where we left off and we will tackle the crotch and fly.